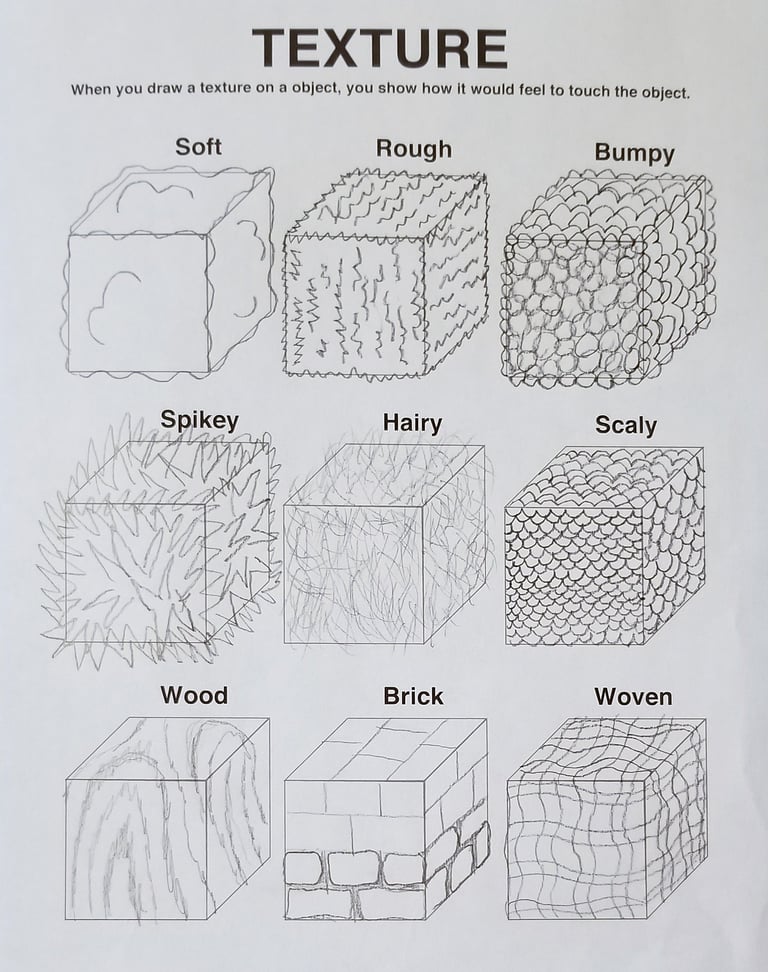
Texture and Value
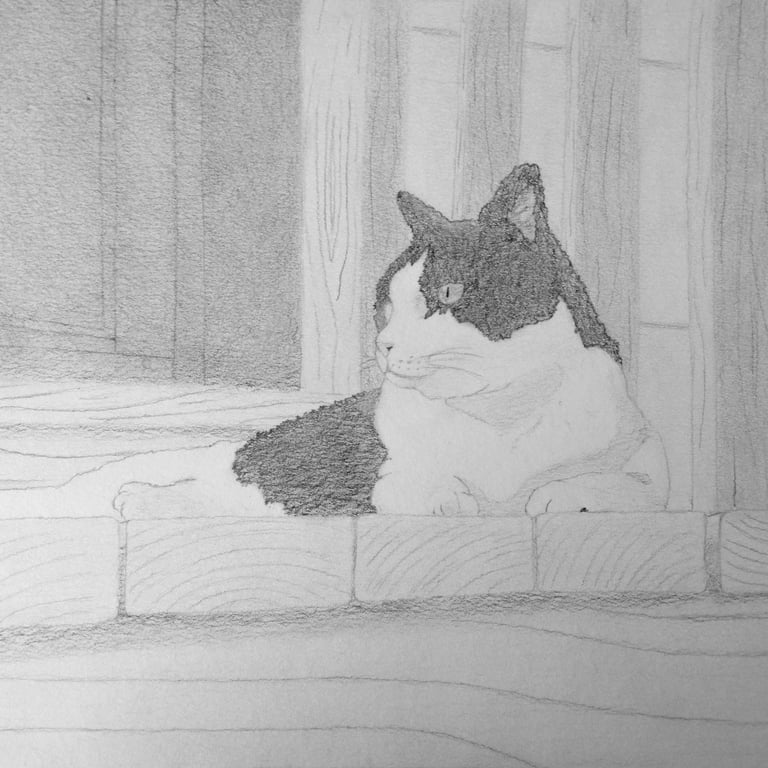

These drawing lessons were taught during an eight session zoom class through CAPE at NEIU. This class met once a week for one hour. Students ages ranged between 8 and 12 years old. To meet students interests, I offered options and took suggestions on what animal we drew each day.
Description of Project: Students follow along and practice creating a realistic rendering based off a provided photo. The focus of these lessons are to build the students understanding of creating values and texture based off what they observe in an image. Students learn about using different graphite pencils to create a value scale and how to create values in a drawing. The teacher guides students through the process and asks students what observations they notice about the image. Since these lessons were over zoom, having the teacher observe student work was not feasible, therefore, students benefited from teacher demonstration and an explanation of each step. Teacher thinks out loud to show students how to think like an artist and how to build critical thinking skills.
Reflection: If I were to teach this lesson again, I would include better quality paper for students to use. This way the paper will have more grit and better support the different values students are trying to create.
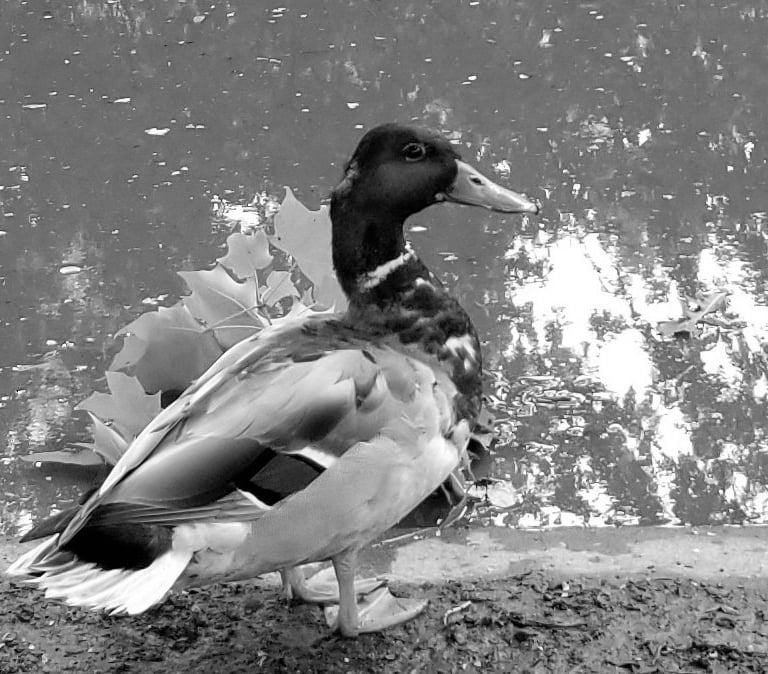

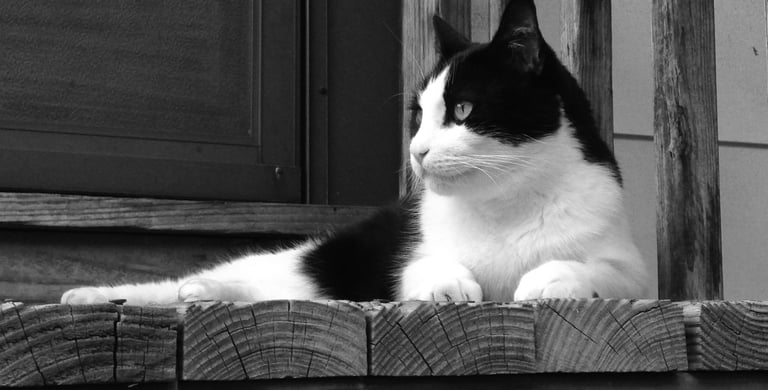

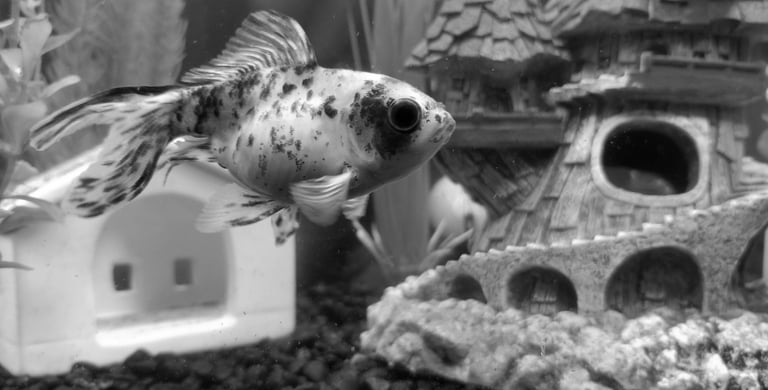

Photos taken by teacher
Teacher Preparation: Teacher edited pictures to be in gray scale to help students view the animals in values. Since this class was virtual the photo was sent as a PDF for parents to print ahead of time. This way students had a physical copy of the image that they could closely look at as they followed along with the teacher.
Instructional Materials:
PDFs of the images that were edited to be gray scale
Paper for students
Drawing pencils (2B, 4B, 6B, 8B)
Erasers
Overhead camera for teacher demonstrations
Value scale worksheet
Contour practice worksheet
Vocabulary & Language Demands:
Value: defines how light or dark a given hue can be
Contour: a contour line defines the outline of a form, as well as interior structure, without the use of shading
Texture: is the perceived surface quality of a work of art (actual texture or implied texture)
Contrast: when opposite elements are arranged together such as light and dark
T-shirt design sketches and checklist:
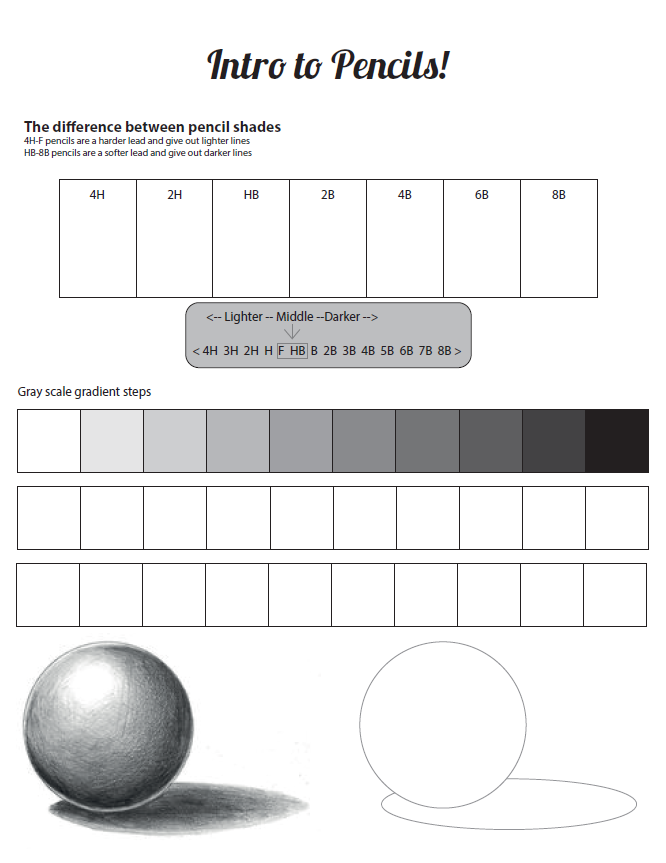
Provide students with this worksheet to sketch to practice applying different amounts of pressure using the different graphite pencils. Then students use the pencils to recreate the value scale in the second row of boxes. Students can decide what form they want to fill in the third row such as stippling or cross hatching. Finally students can practice creating form by creating the different values on the sphere.
*Click on the image to download the PDF worksheet.
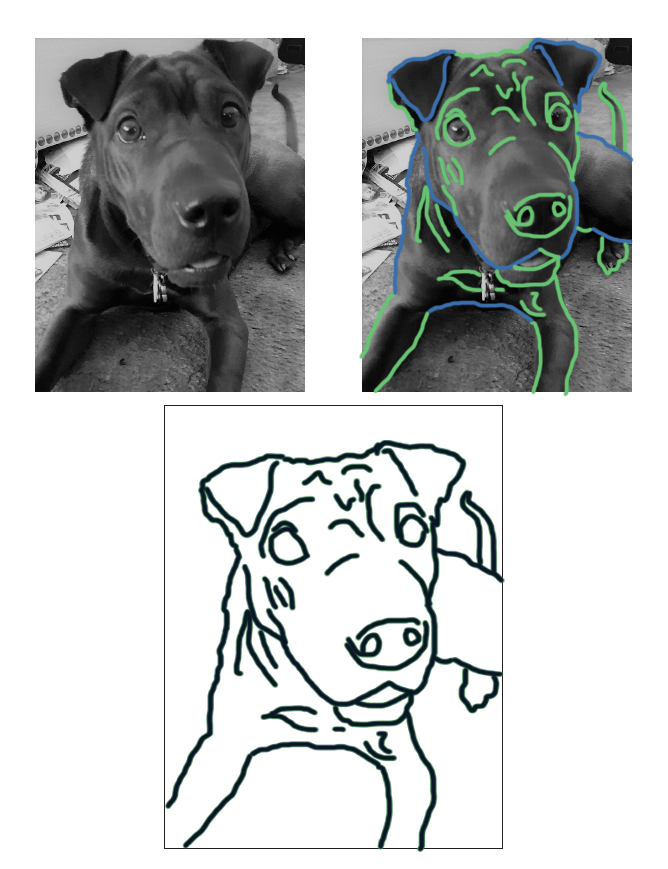

Contour Drawing Practice:
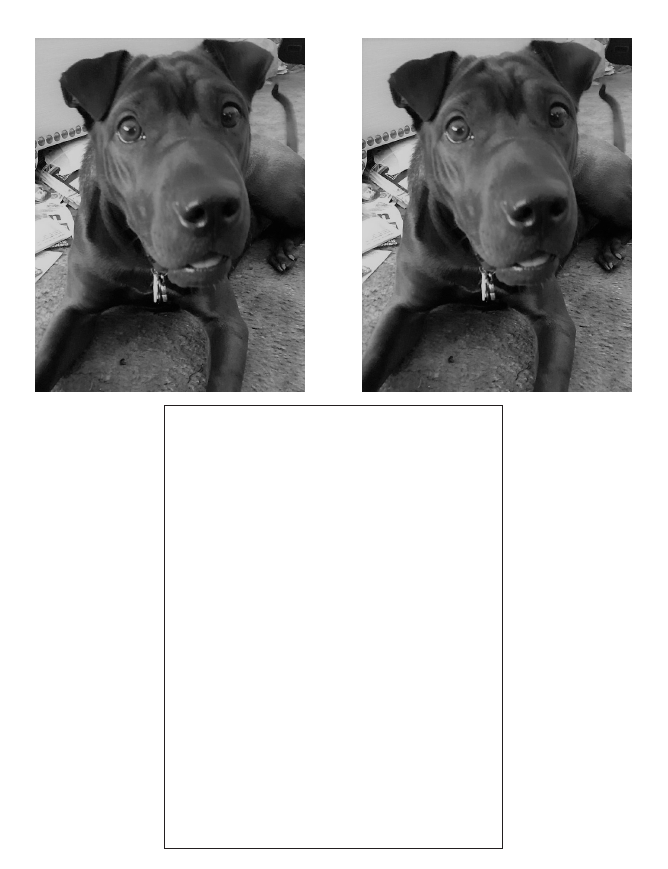
Provide students with this worksheet to follow along in learning how to closely observe and draw contours of a subject. Students will trace and draw lines over one of the copies of the images, this way they can see how the lines should look. Then they draw the line in the empty box. Teacher can guide students through this process step by step.
*Click on the image to download the PDF worksheet.
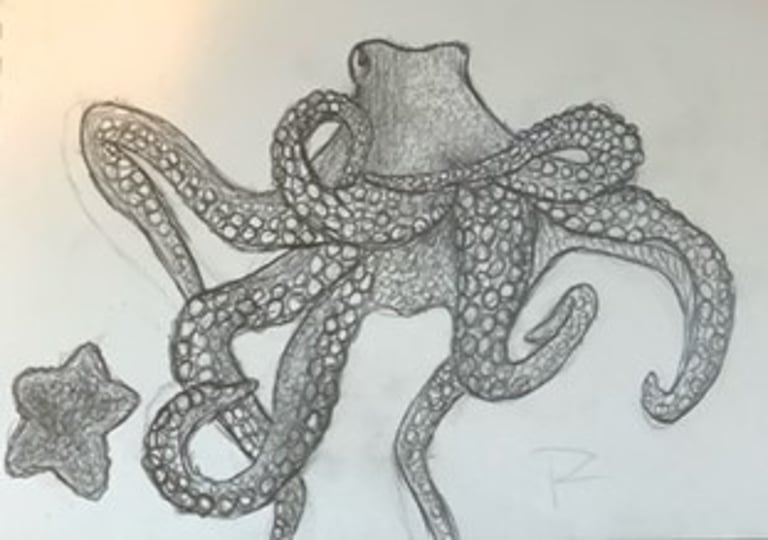
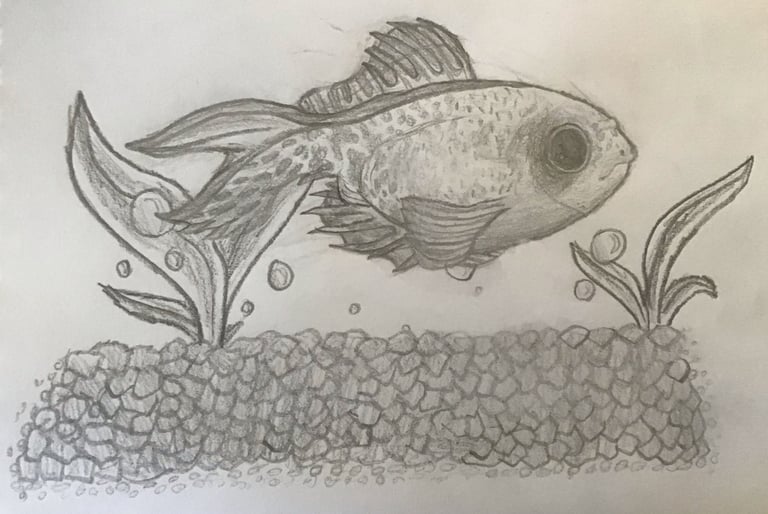
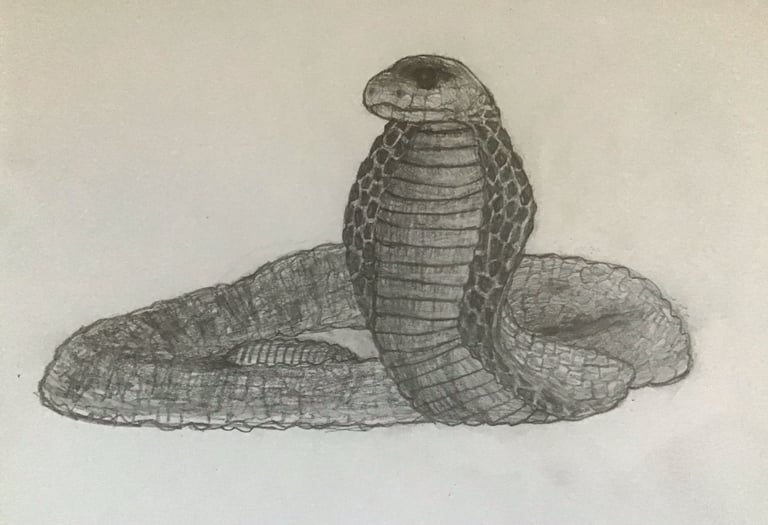
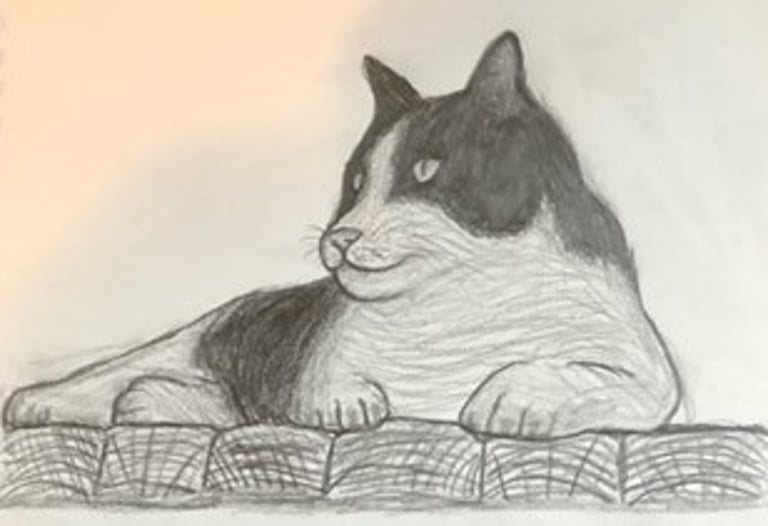
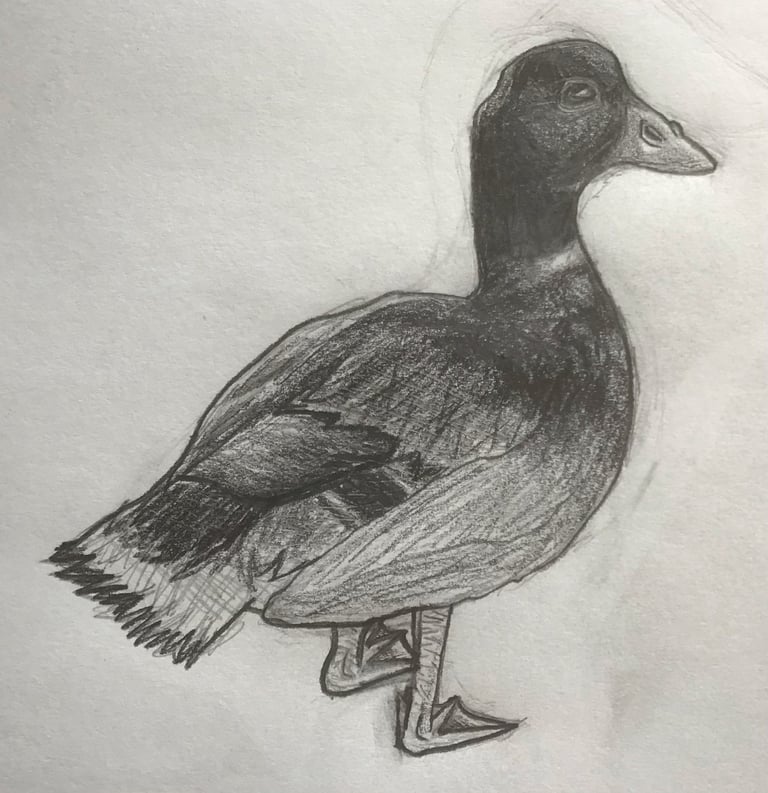
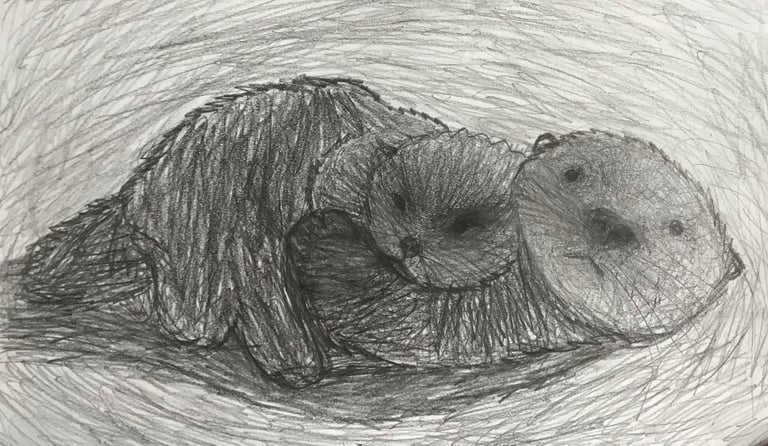
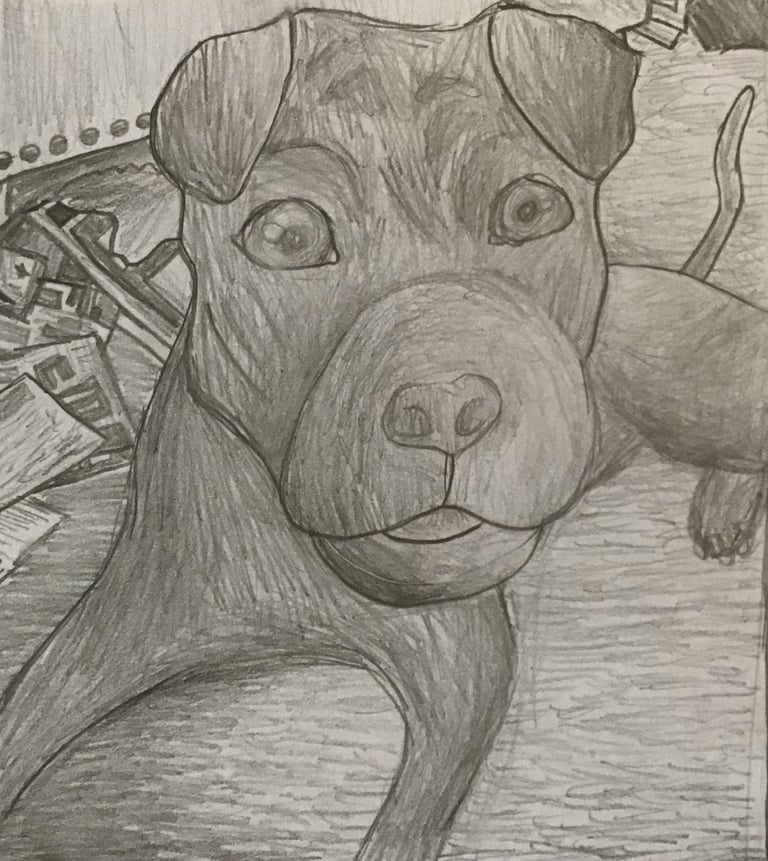


Student work
Texture and Value


This lesson was taught during my student teaching experience to 1st and 2nd graders.
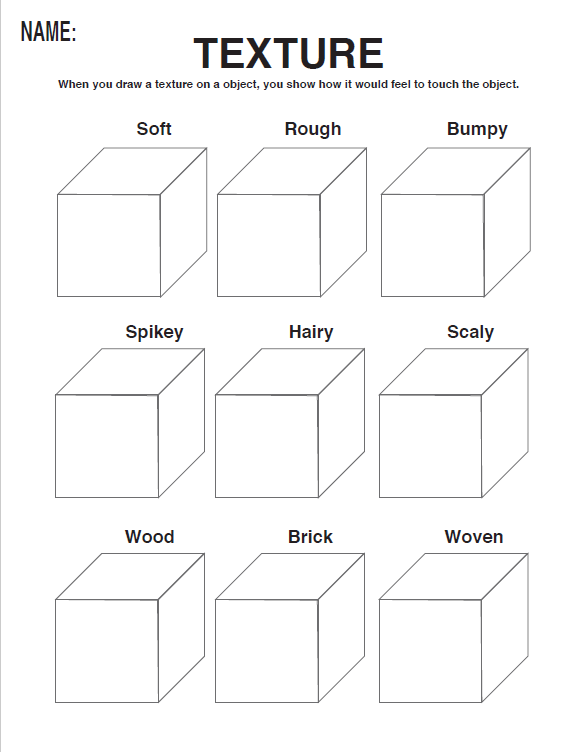
Description of Project: Students follow along and practice using basic shapes to create a drawing and then add implied texture. The focus of this lesson is to build the students finemotor skills and learn about creating implied textures that represent the objects in the drawing. Such as creating fur on the sloth will look different than bark on the tree. Students could add more things to the background of their interest.
Reflection: If I were to teach this lesson again, I would include better quality paper for students to use because a lot of students accidentally got a lot of wrinkles in their papers. I also think they would have enjoyed using watercolor paints to color in their drawings afterwards.
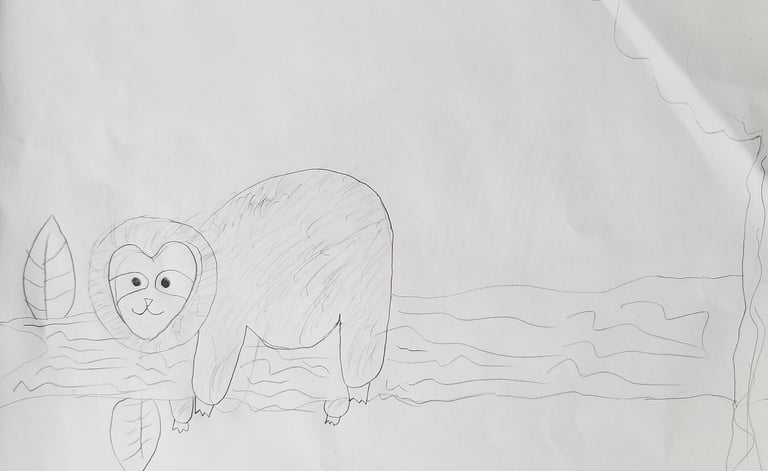

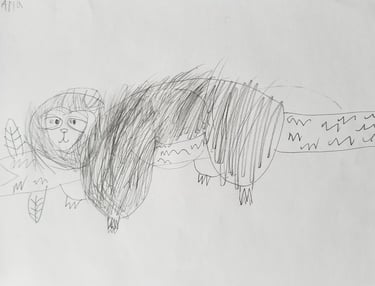
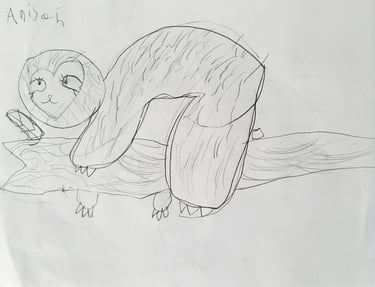
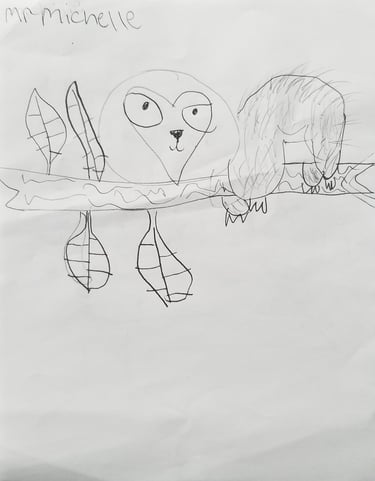
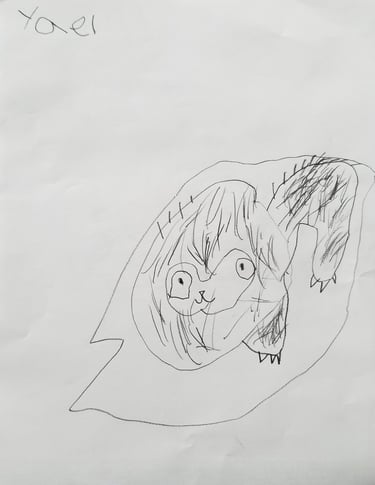

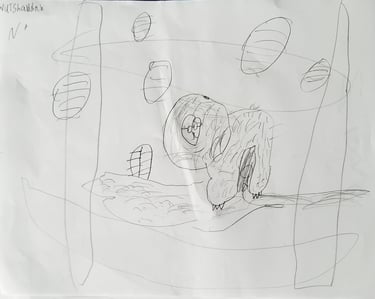
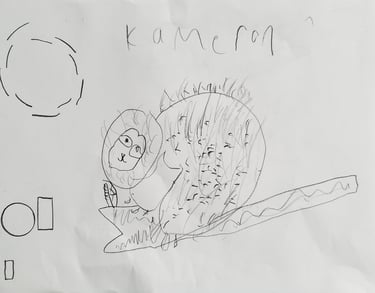
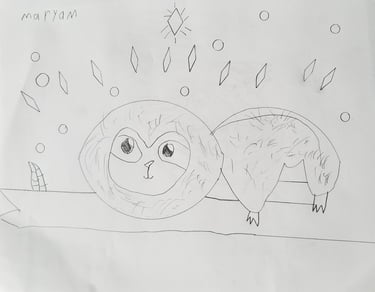
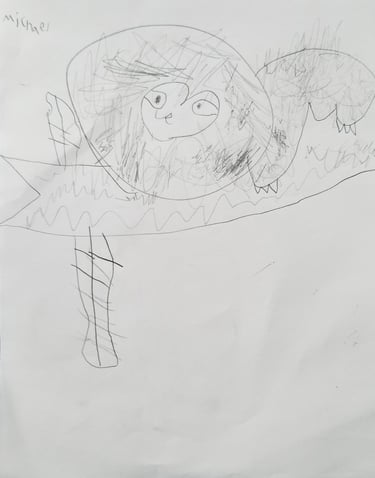
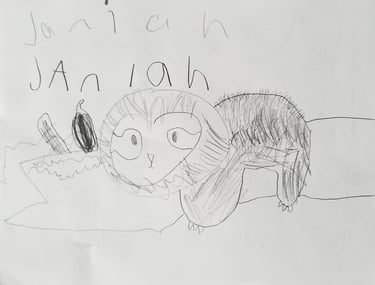
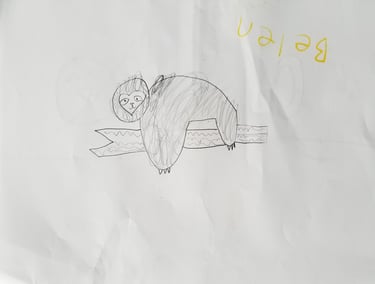
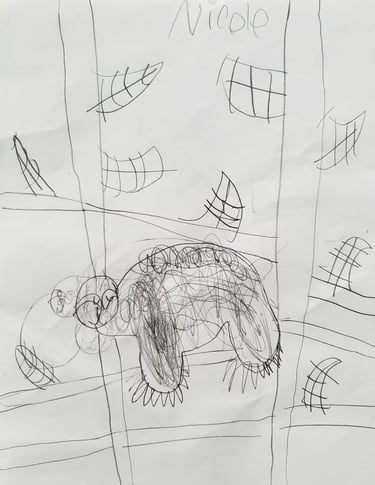
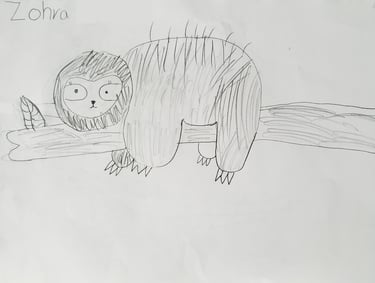
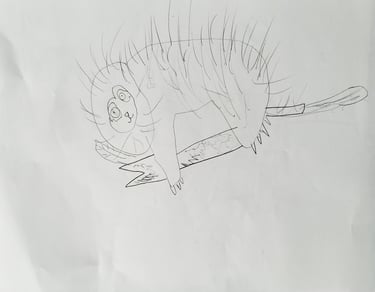
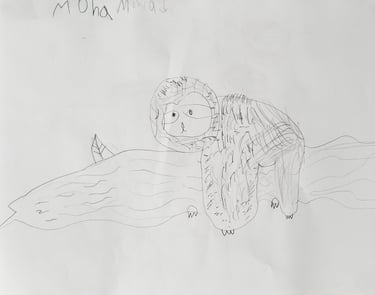
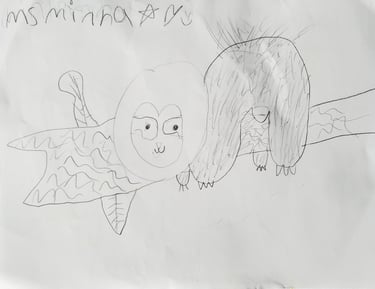


Student work
Texture Trees
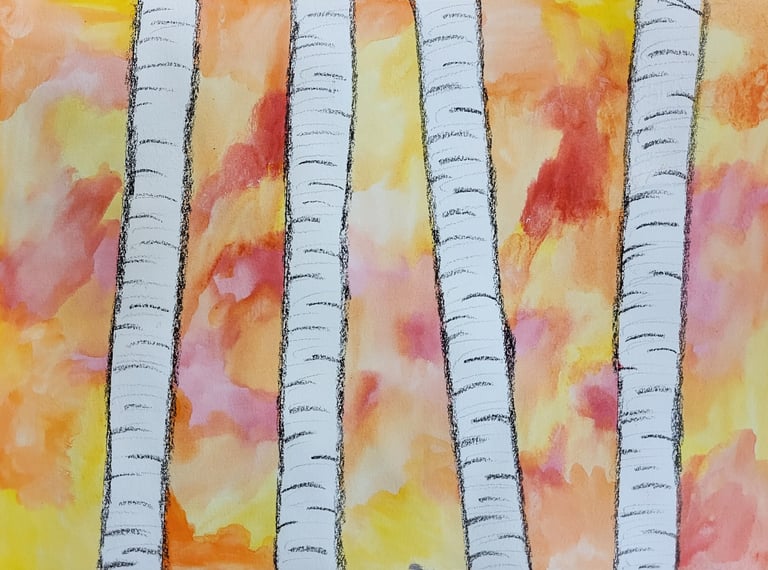

These drawing lessons were taught during my student teaching experience to pre-kindergraden.
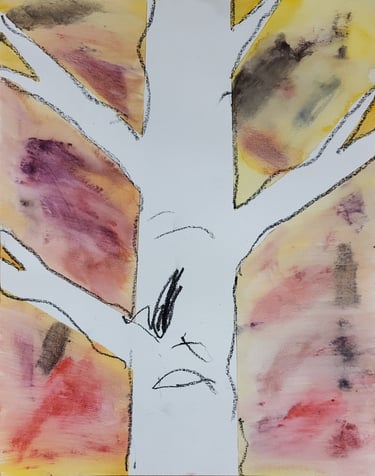
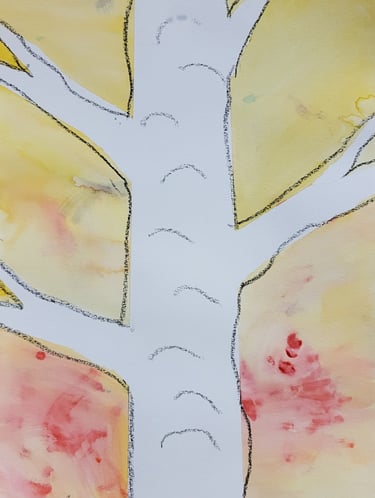
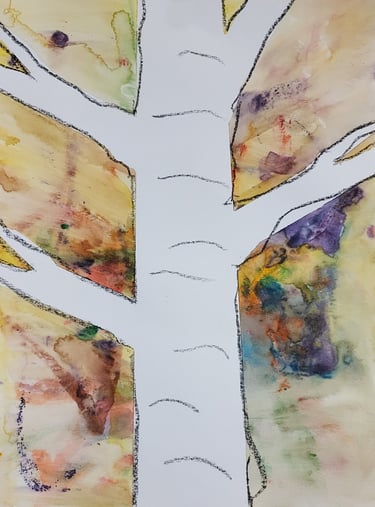
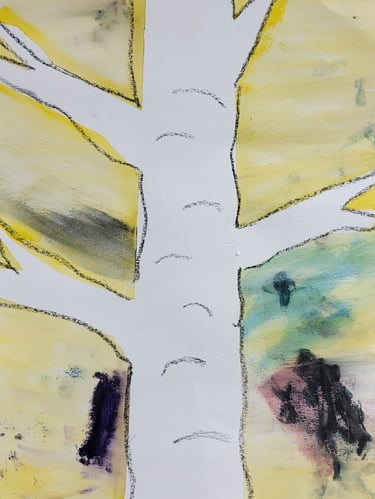
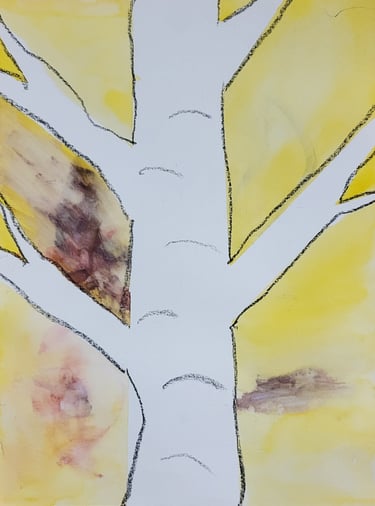
Description of Project: Students learned about different types of lines and then learned about different textures throughout the week. This project students learned about how to use line to create the texture of a tree. First the students where given stripes of painters tape to place down on their water color paper.The teacher talked about how the leaves of trees change colors during the fall. Then students painted their whole paper with the colors of their choice. After the paper dried the teacher removed the tape and students practiced their fine motor skills by adding the lines to create the texture of the bark/
Reflection: If I were to teach this lesson again, I would include better quality paper for students to use. This way the paper will have more grit and better support the different values students are trying to create.
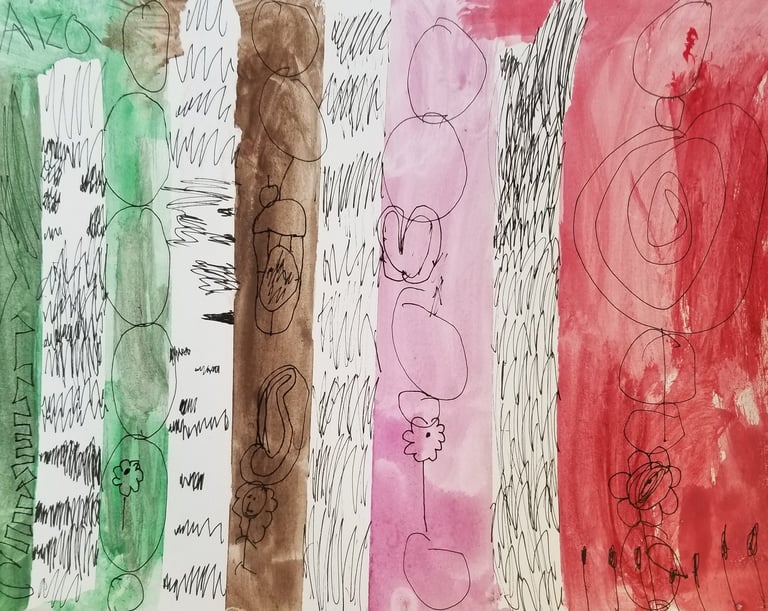
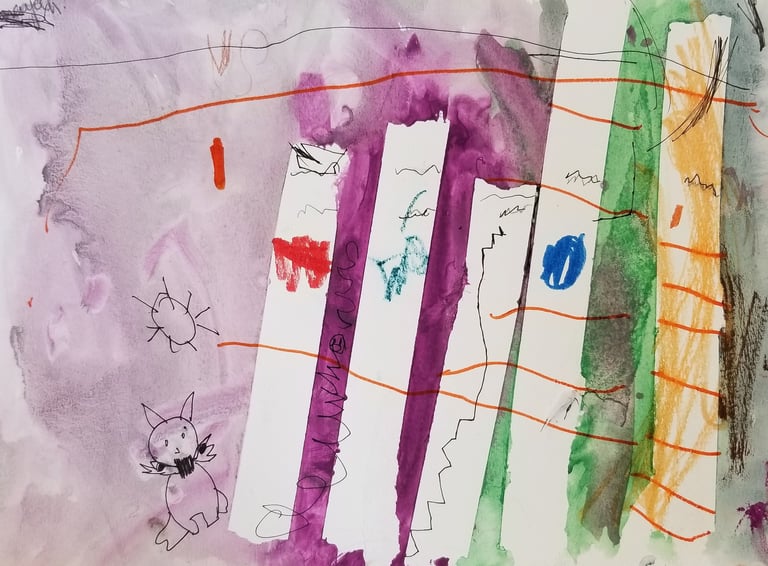
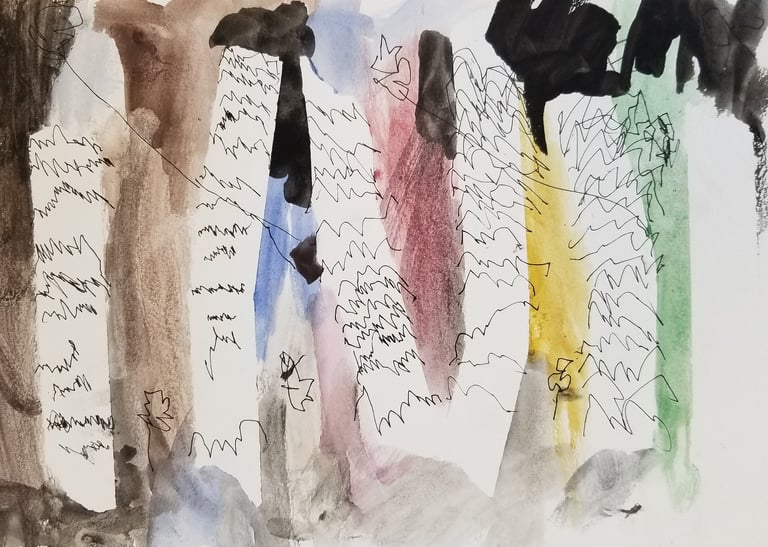
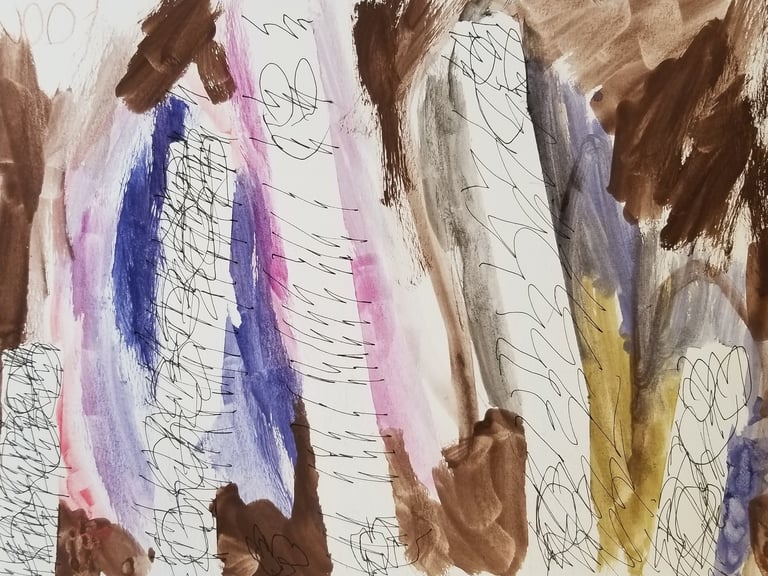


Student work
Texture Tree
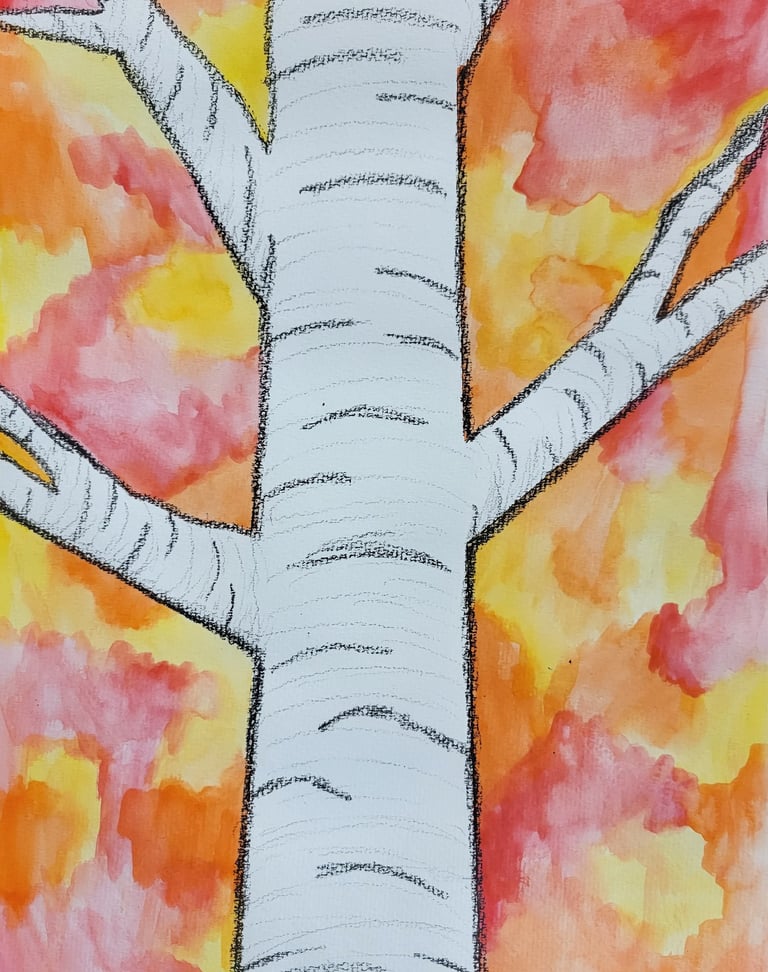

I taught this project to a kindergraden cluster room.
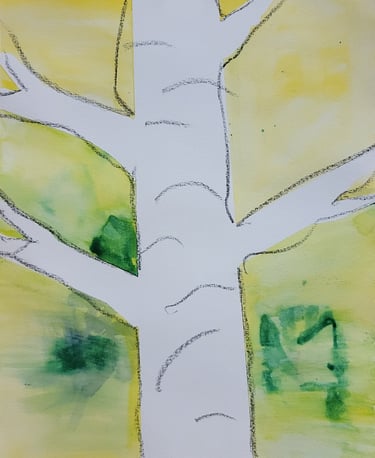
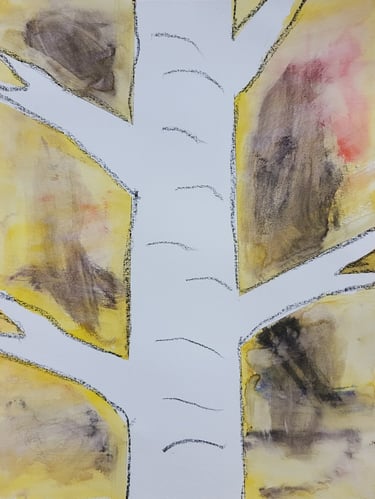
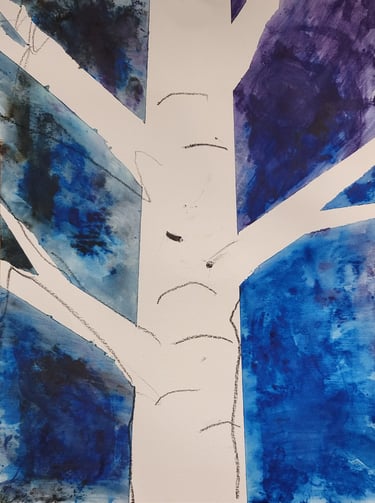
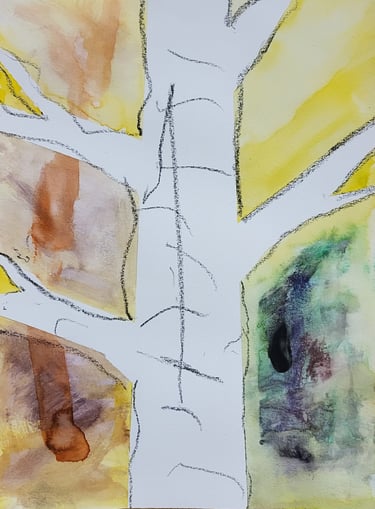
Description of Project: Students are working on mine motor skills and holding materials such as paint brushes and crayons. This project students learned about how trees change colors during the fall. The teacher prepared the watercolor papers ahead of time by adding painters tape in the shape of a tree. Students painted their whole paper with the colors of their choice. After the paper dried the teacher removed the tape and students practiced their fine motor skills by adding the lines to create the texture of the bark. Teacher did hand over hand with some of the students when adding their lines to the tree.
Reflection: If I were to teach this lesson again, I would do this project in smaller groups for this particular group of students needed more one on one assistance.
