Bleach T-shirt Design
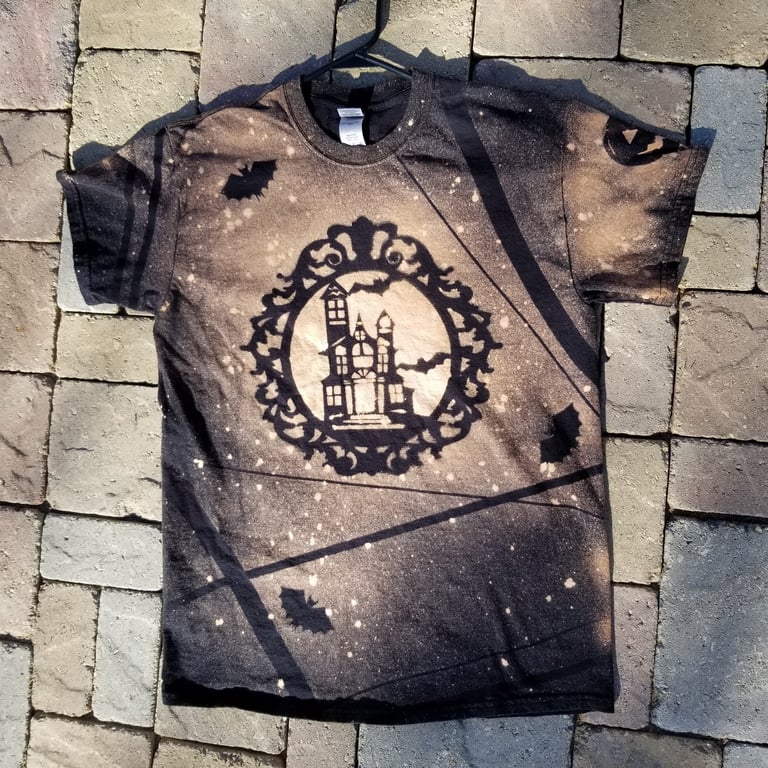

This lesson was taught during my clinical experience with 9th-12th graders. A lot of the students enjoy holidays, so this project was Halloween themed; however, students could make their t-shirt designs to their own interests.
Description of Project: Students will organize and create designs on a t-shirt using stencils and bleach. The focus of this lesson is to allow students to practice applying the principles of design previously learned using a new material. They will focus on developing their use of value, repetition, emphasis, contrast, and unity. Students will learn how to apply the right amount of layers to get the desired amount of value from the bleach onto the t-shirt. Students will be able to explain and understand the safety guidelines for handling the new medium. The students enjoyed experimenting with the stencils and using the bleach.
Reflection: If I were to teach this lesson again, I would include a day for planning and sketching out ideas. This way students could have more time to think about how they would apply the principles of design into their t-shirt design. I would also give them a day to make their own stencils. This would really help them push their creativity and think deeper about applying what they learned. It could also bring out the students’ interests and build confidence in creating art that they like. I would also have paint brushes and other alternative tools for the students to experiment with.
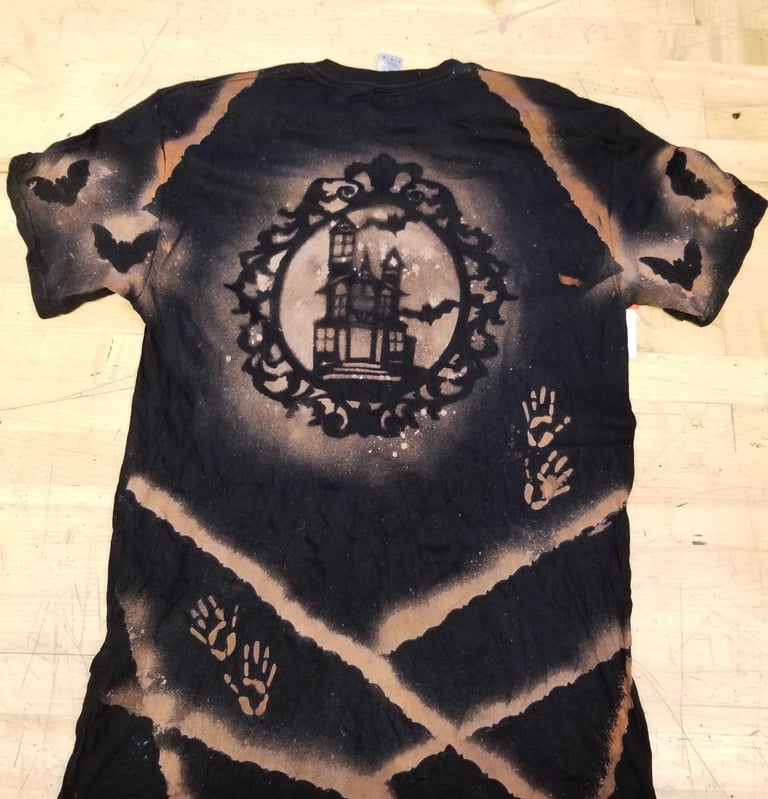

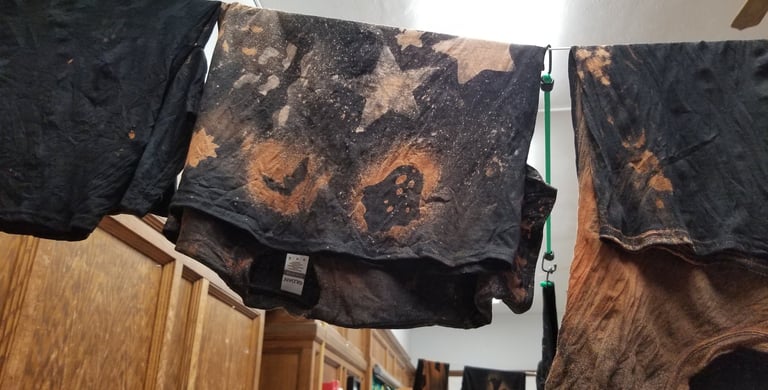

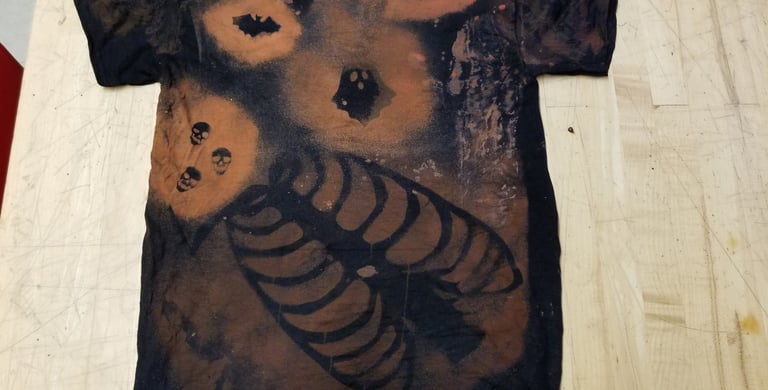

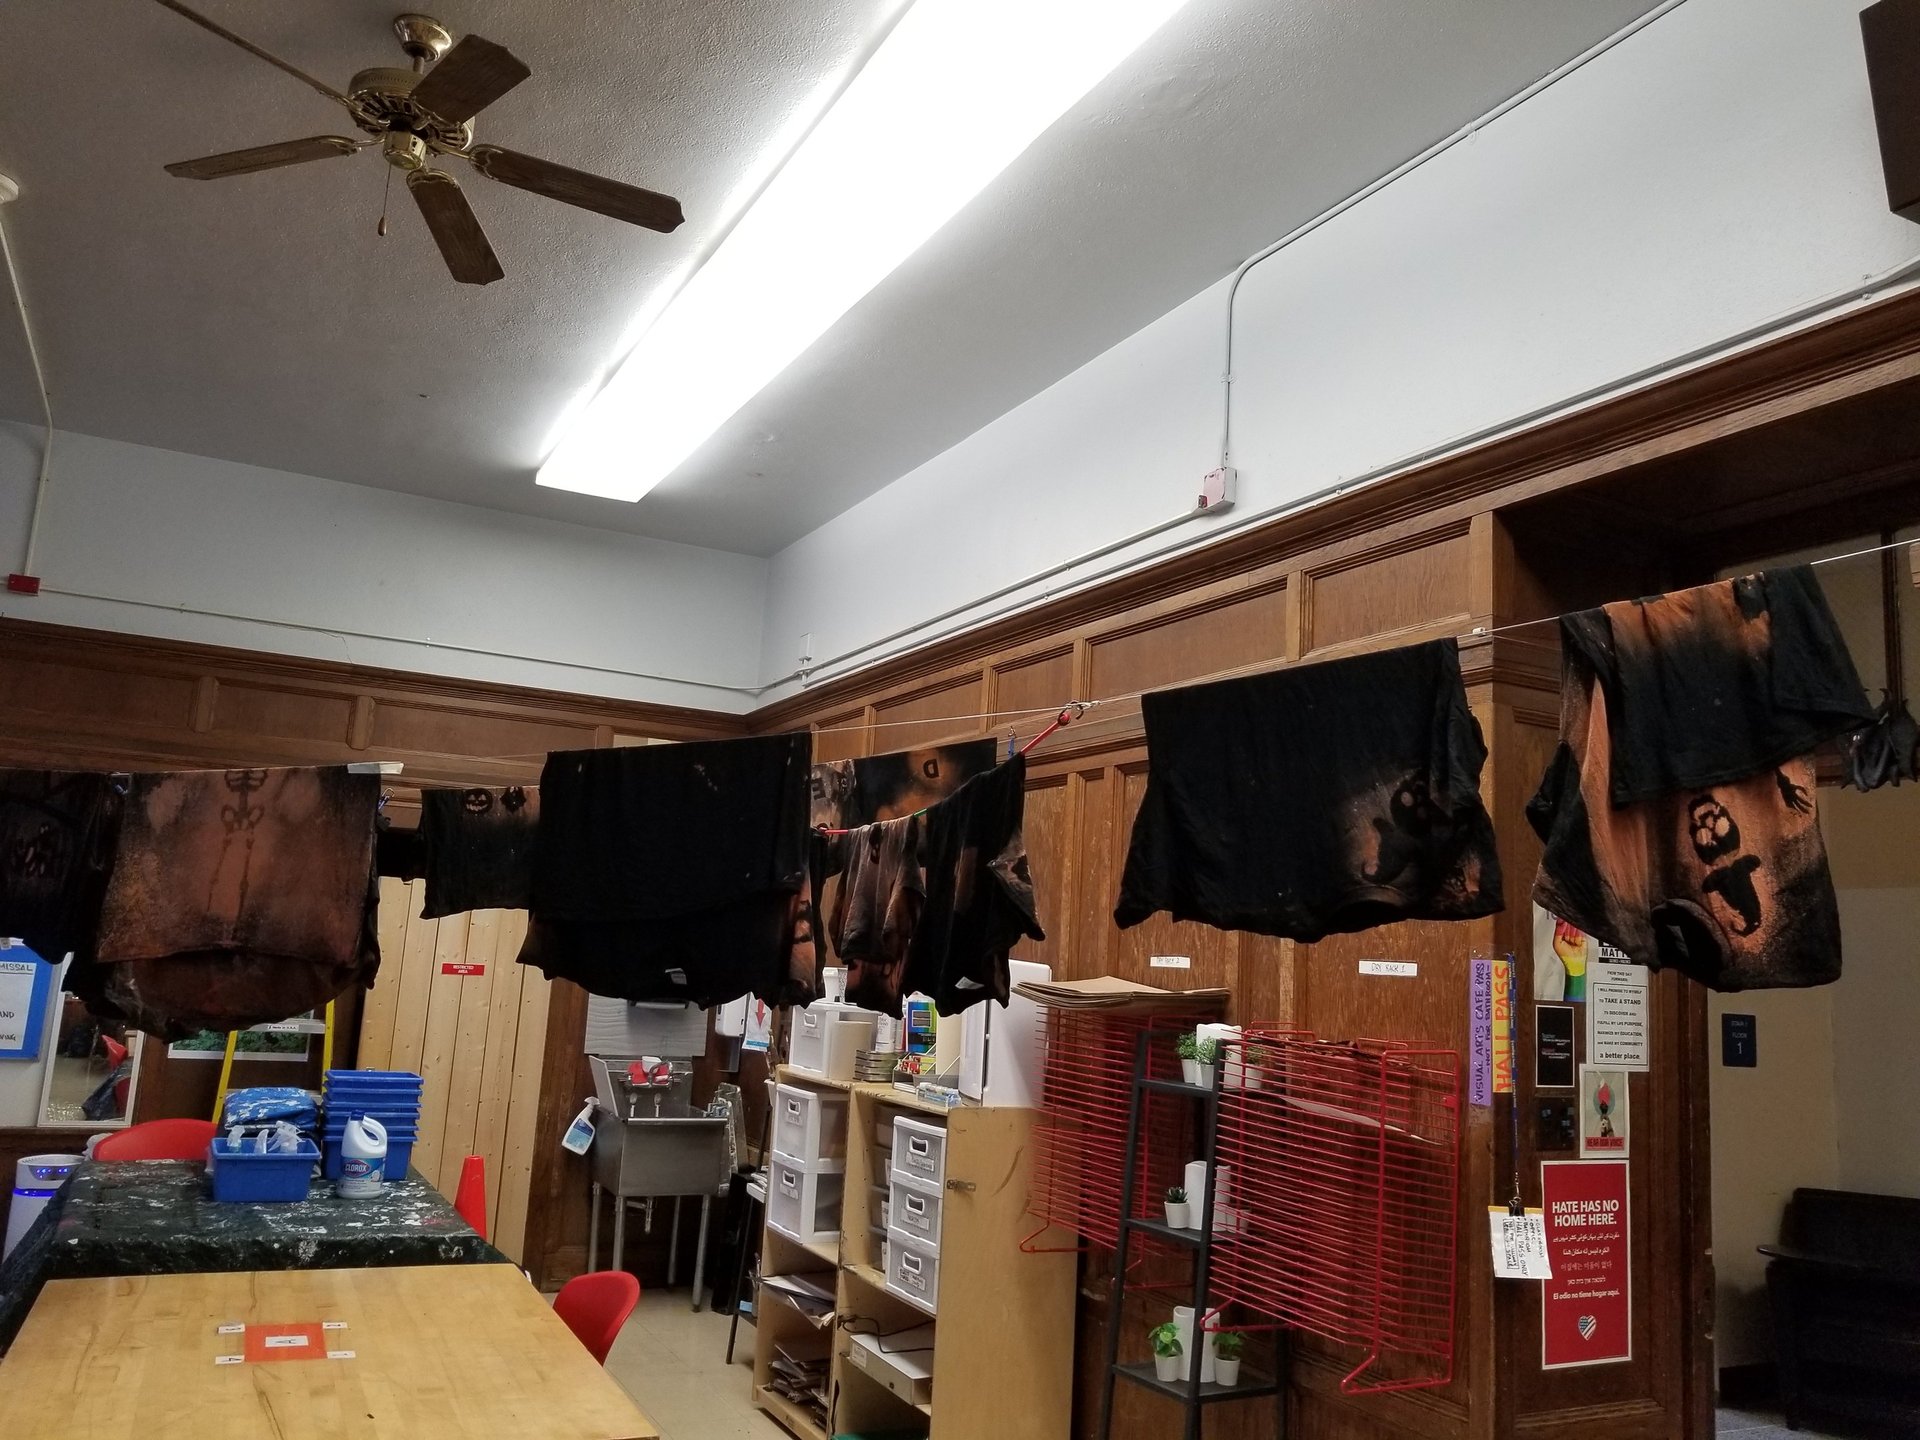
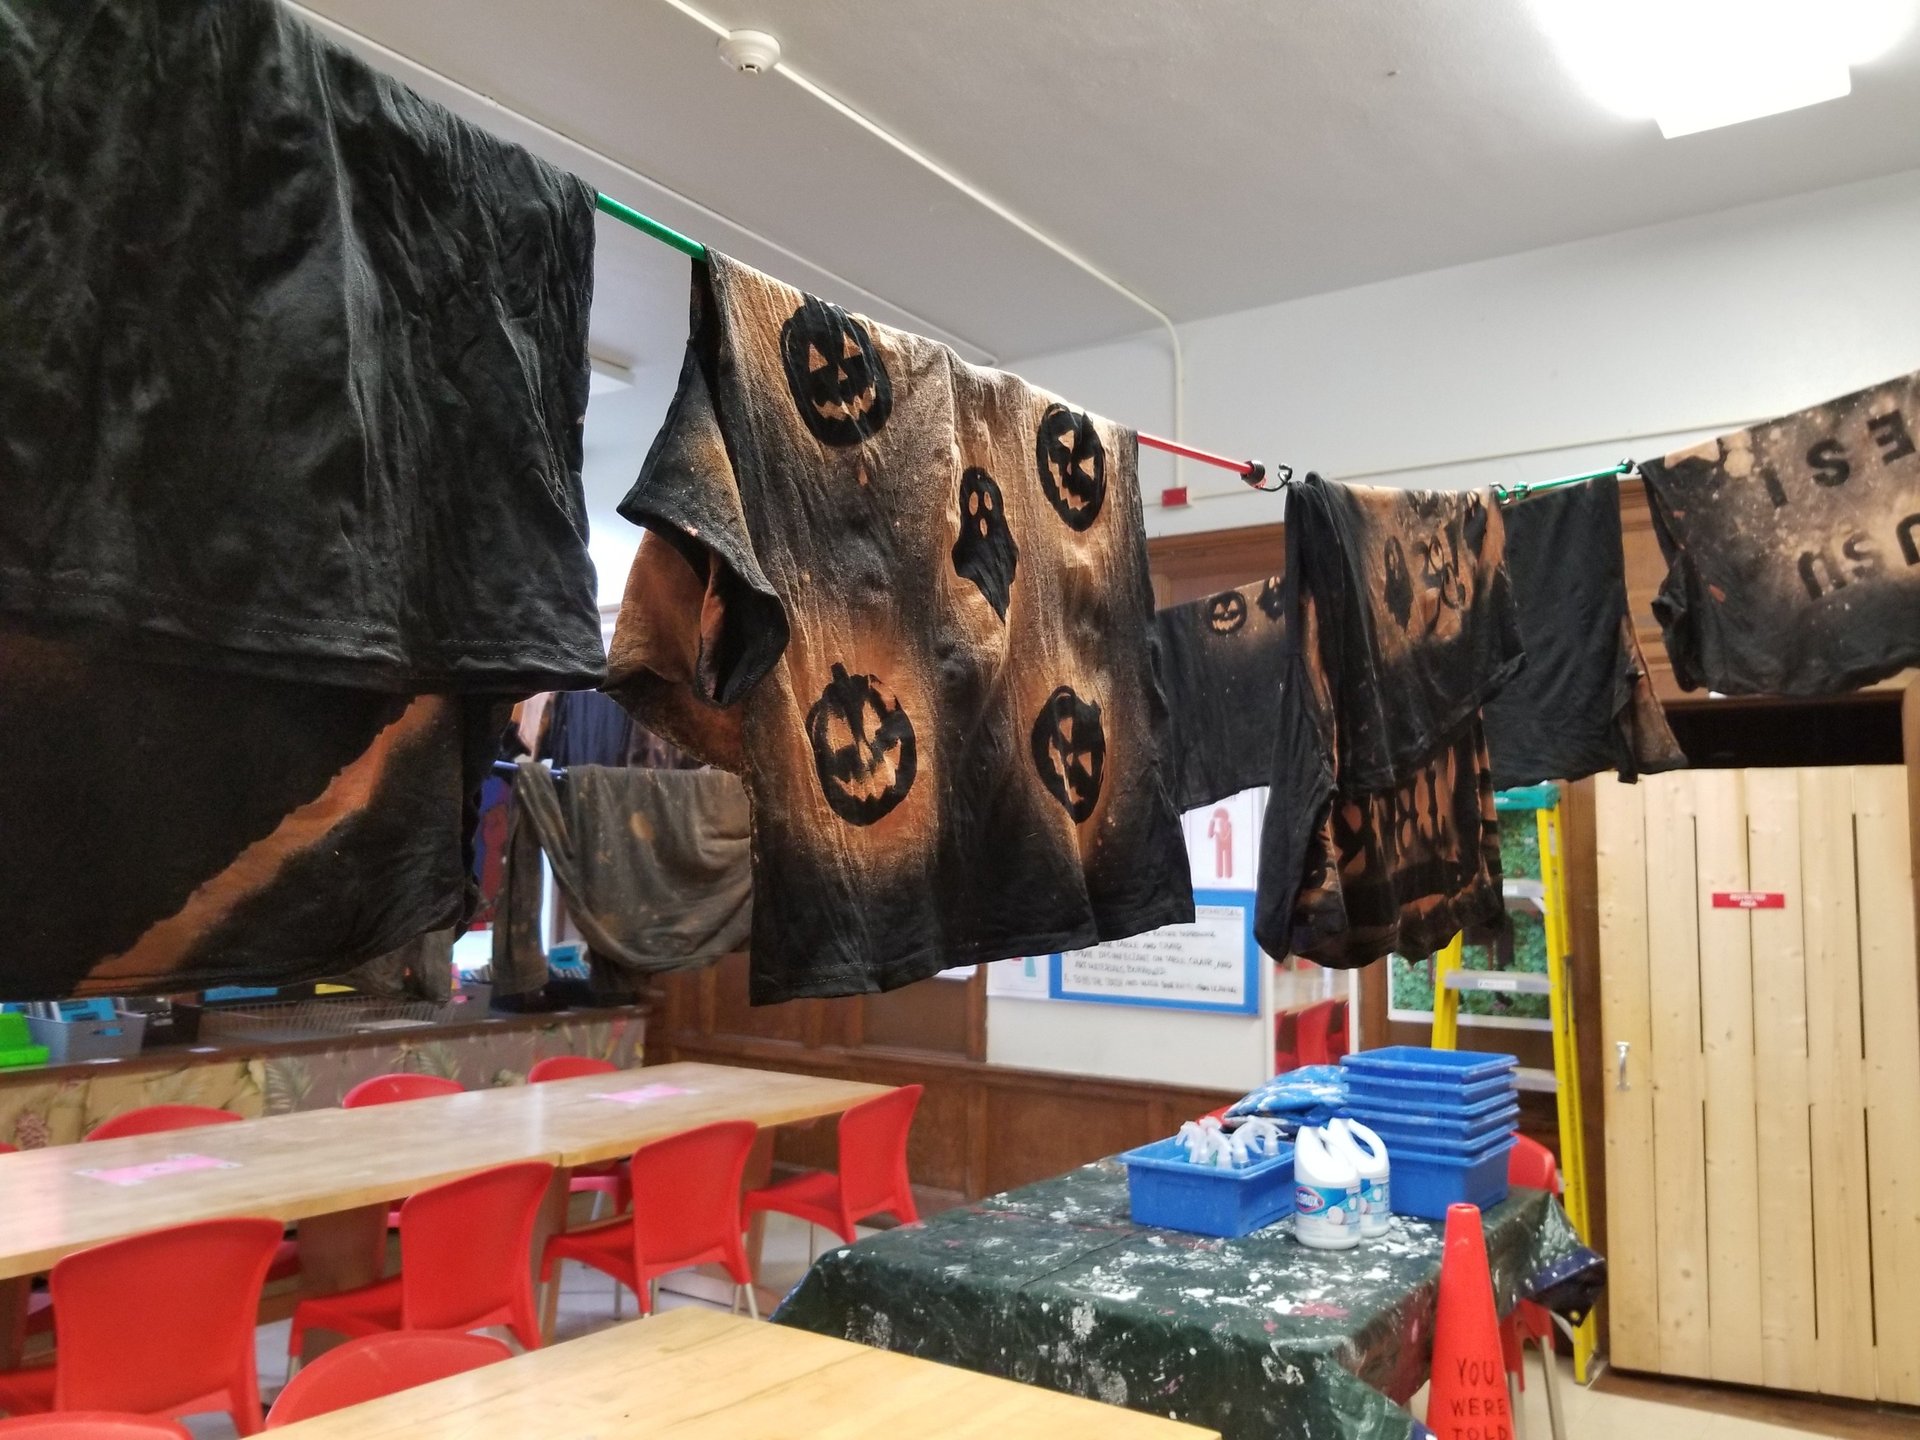
Student work
Visual Arts Standards:
VA: Cr.2.1 Organize and develop artistic ideas and work.
Proficient: Engage in making a work of art or design without having a preconceived plan.
Accomplished: Through experimentation, practice, and persistence, demonstrate acquisition of skills and knowledge in a chosen art form.
Advanced: Experiment, plan, and make multiple works of art and design that explore a personally meaningful theme, idea, or concept.
VA: Cr.2.2 Organize and develop artistic ideas and work.
Proficient: Explain how traditional and non-traditional materials may impact human health and the environment and demonstrate safe handling of materials, tools, and equipment.
Accomplished: Demonstrate awareness of ethical implications of making and distributing creative work.
Advanced: Demonstrate understanding of the importance of balancing freedom and responsibility in the use of images, materials, tools, and equipment in the creation and circulation of creative work.
Lesson Context/Rationale: Students will organize and create designs on a t-shirt using stencils and bleach. The focus of this lesson is to allow students to practice applying the principles of design previously learned using a new material. They will focus on developing their use of value, repetition, emphasis, contrast, and unity. Students will learn how to apply the right amount of layers to get the desired amount of value from the bleach onto the t-shirt. Students will be able to explain and understand the safety guidelines for handling the new medium. Many students enjoy Halloween and like trying out new art materials. They will be making a functional object that they can design to their personal style and interest which they will be able to wear after they are done.
Essential Questions:
How do artists and designers learn from trial and error?
Why is it important for safety and health to understand and follow correct procedures in handling materials and tools?
Objectives:
Students organize and create a t-shirt design using stencils. Students will develop their use of creating value through exploring a new medium (bleach). Students will be able to explain and understand the safety guidelines for handling the new medium (bleach). Students will know how to apply what they have learned from the elements of art and principles of design to the t-shirt by using the stencils and amount of density of the bleach being applied.
Written in student friendly language:
I will: organize and create artistic ideas for a t-shirt design.
So that I can: develop my skills with new material.
I know I’ve got it when: I can demonstrate my use of value and principles of design with the new material.
Explain my understanding of how to safely use a new material.

Assessments:
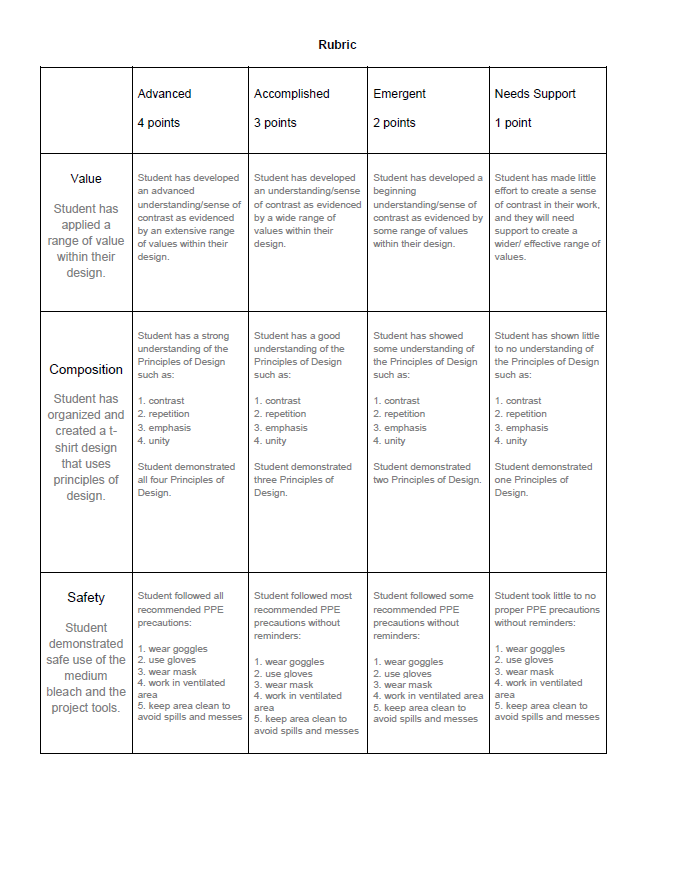
Summative (Refined Product): Students will be graded on the completion of the final artwork and graded with a rubric. While looking at their final t-shirt design, students will self-assess their own work using the rubric to see where they are according to the rubric. Then the teacher will use the same rubric to assess the student for a final grade.
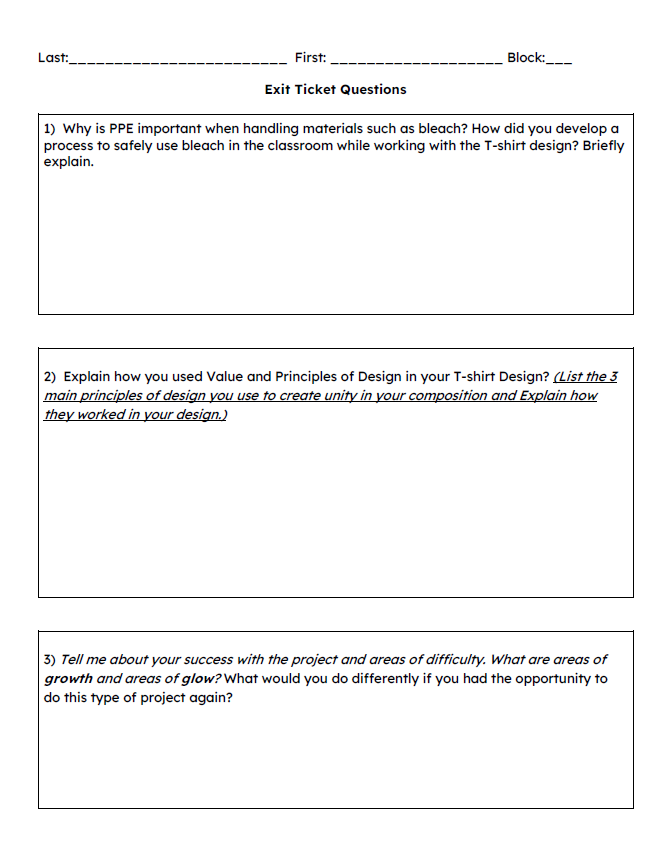
Formative: An exit slip that will allow students to explain their understanding about safely using the materials. Exit slip will be given to students at the end of the project to reflect on how safe the student worked, their use of the Principles of Design, and to give feedback on the overall project.
*Click on the image to download a PDF version of the Exit Ticket and Rubric
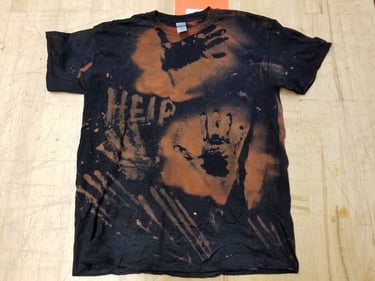
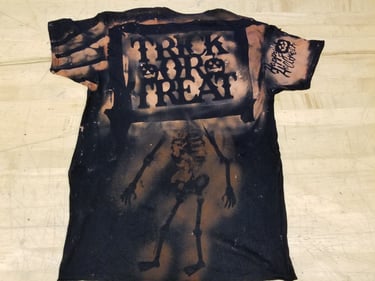
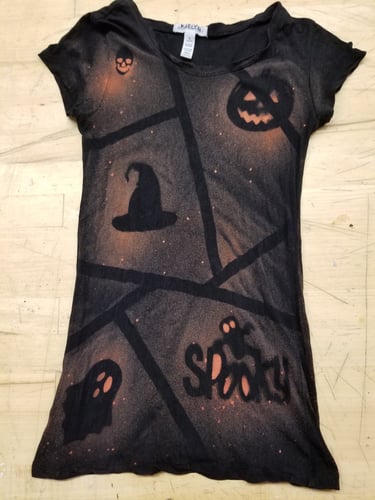
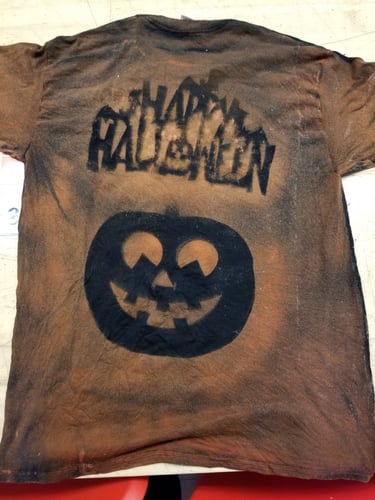
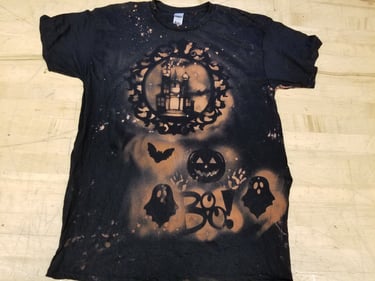
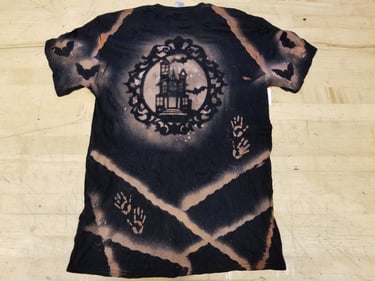
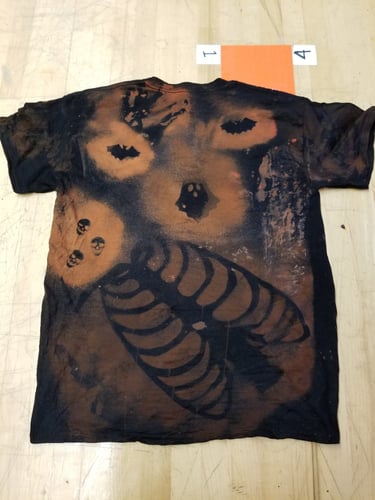
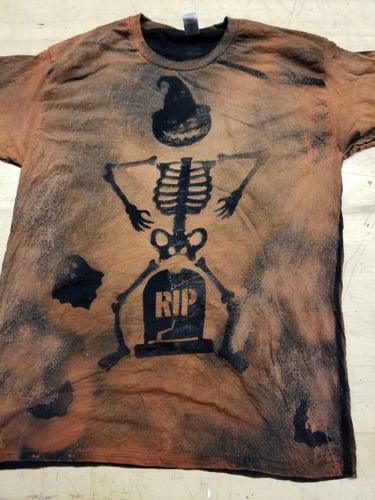
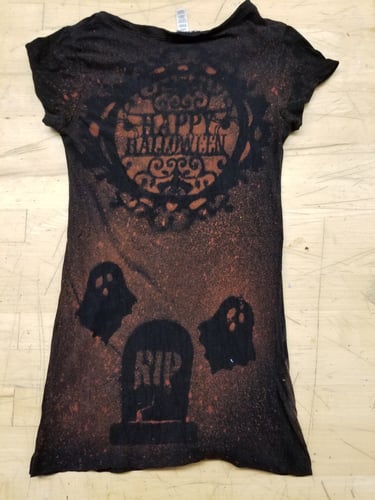


Student work

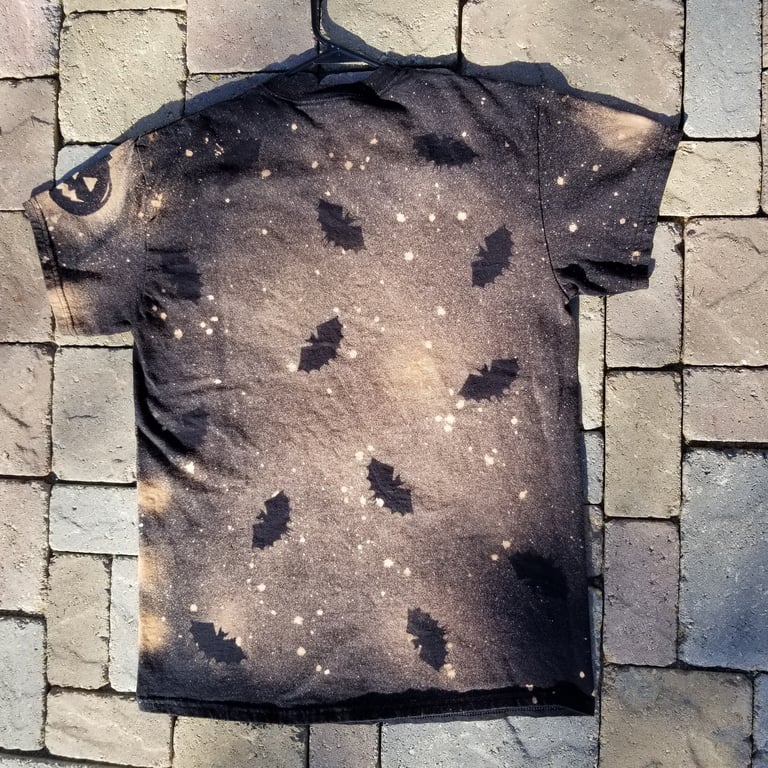
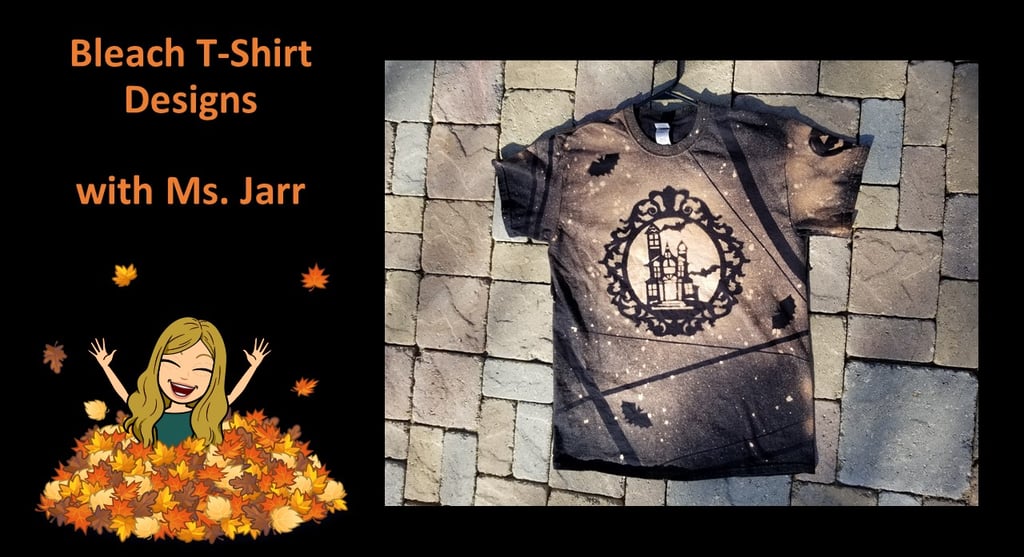
Teacher Example
Vocabulary & Language Demands:
PPE: Personal Protective Equipment
Emphasis: the strategy that draws the viewer's attention to a certain element
Repetition: repeating an element such as creating a pattern
Contrast: when opposite elements are arranged together such as light and dark
Focal Point: the element in the composition that first attracts the eye
Hierarchy: arranging elements in a composition in a way that implies some elements are more important
Vocabulary will be introduced at the beginning of class in the Google Slides. The PPE will also be discussed while going over the safety protocols for using bleach. Students will have to demonstrate their use of PPE during the creation of their art work. Students will have to demonstrate their knowledge of the terms on their exit slip.
Connection to learning theory & educational principles:
Studio Habits of Mind: Develop Craft
Students are learning and practicing how to use and take care of tools, materials, and their work space.
Project Introduction:
Teacher introduces the project with a brief presentation. Explaining safety expectations, vocabulary, objectives, and showing examples of Principles of Design being used in the example projects.
Then the teacher will show and explain the rubric of the project so students know what they are being graded on for this project.
*Click the image to download the editable PowerPoint
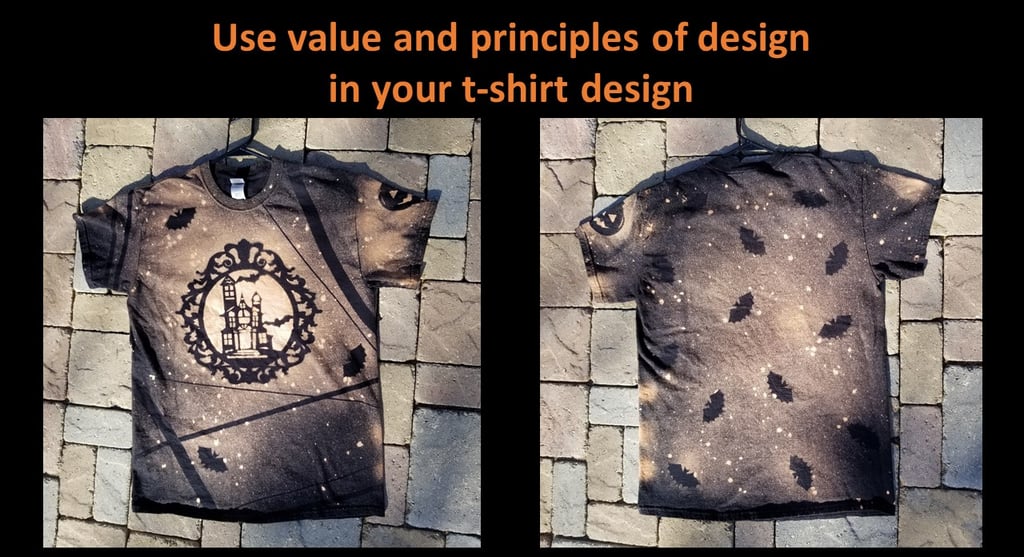

Teacher will talk about the project then the teacher can ask students if they notice any Principles of Design being used in the example.
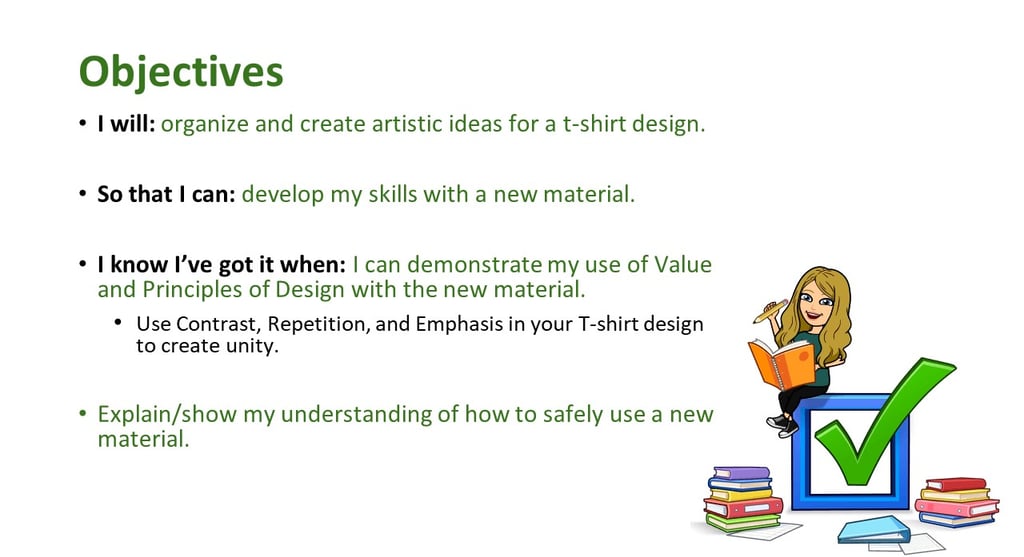

Teacher will explain the objectives in student friendly language.
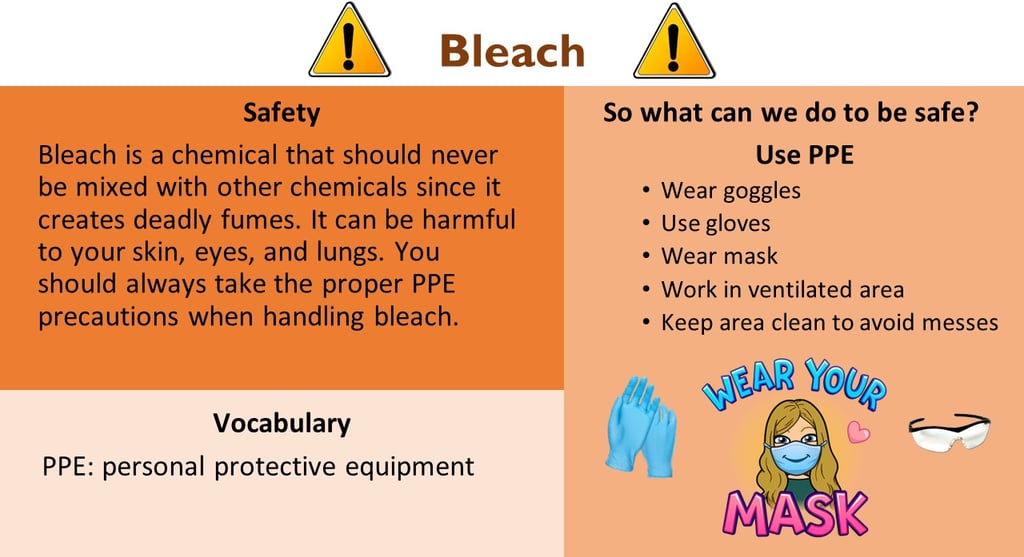

Teacher will talk about the importance of safety and how artists need to take care of their health when working with hazardous materials. Teacher will explain expectations on behaviors when using the materials to ensure safety of all students.
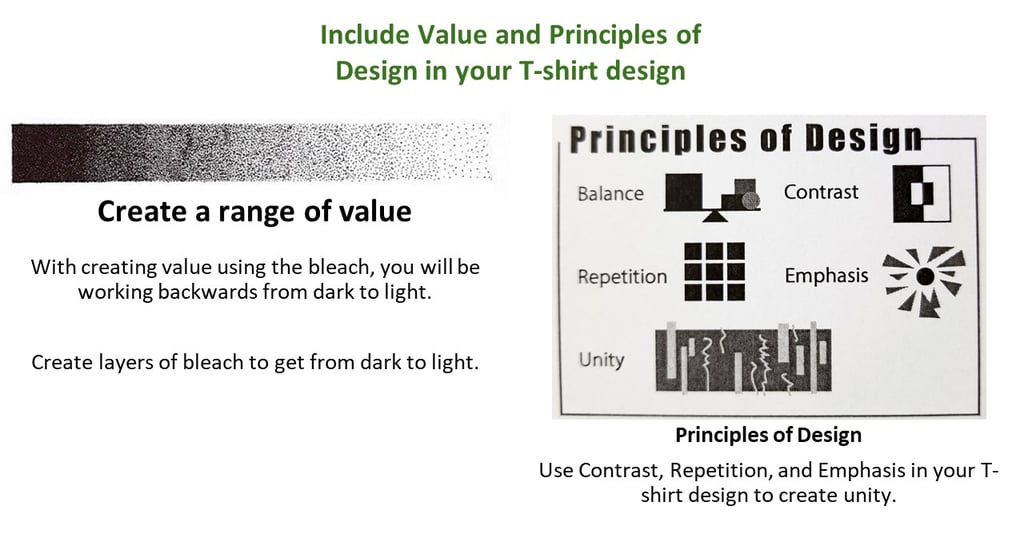

Teacher and students will discuss the vocabulary and how they can use each of the principles in their designs.
Teacher will explain that students will be working from dark to light, so to get a lighter value students will have to add more layers of bleach.
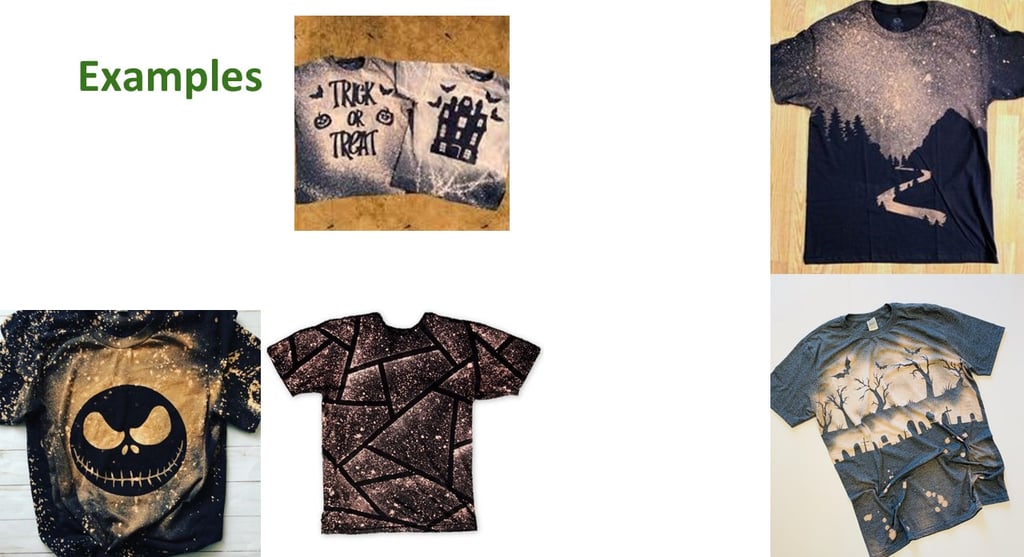

Teacher and students will discuss what Principles of Design they see in the examples. Then discuss the use of value created in each design.
Teacher and students will discuss which designs show more potential in their use of the Principles of Design and what ideas could have helped the designs be more developed.
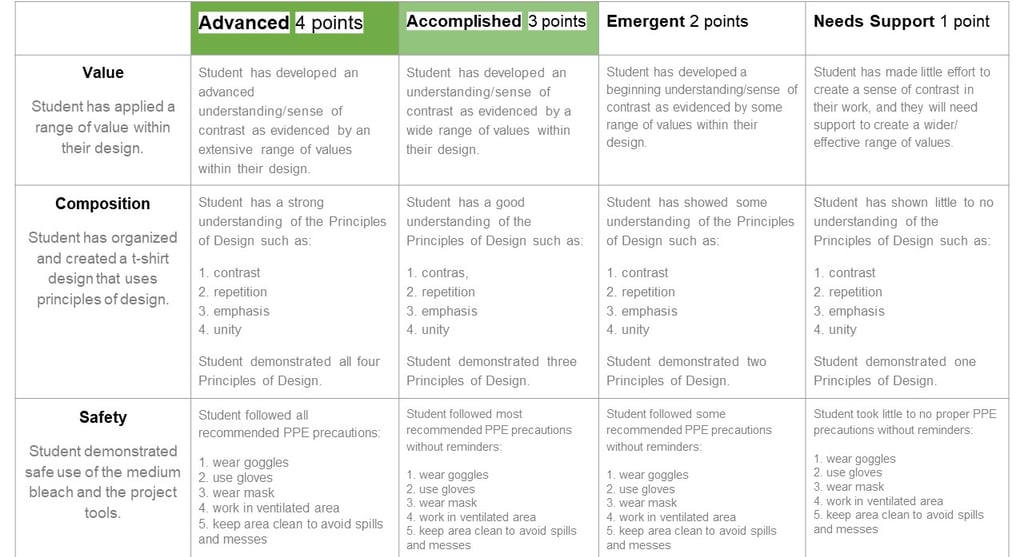

Teacher will talk about what students are being graded on and students can ask questions.
Teacher Preparation:
The teacher needs to prepare the ratio of water to bleach into the spray bottle. The room needs to be prepared by slightly moving tables apart and covering them with a cover. Have materials organized and ready to go for each group. Have examples ready via images in Google Slides or a premade t-shirt that students can look at. Open windows for ventilation.
Instructional Materials:
Spray bottles (with bleach and water ratio)
Paint brushes or special water brushes
Each student brings a t-shirt
Wooden stencils and cardstock to create their own stencils
Table covers
Gloves
Eye protection
Something to protect their current clothes so the students don’t get bleach on them
Cardboard to go into the shirts
Tape and other materials that students can experiment with
Prepare an exit questionnaire
Instructional Plan for the Lesson:
Day 1
Teacher Project Introduction: 10 minutes
A quick overview of how the day is going to work (teacher demonstration, student work time, clean up time, and exit slip). This is useful because students are used to getting an overview of what is expected of them for the day. Then the teacher will show at least one example of a t-shirt design. The teacher will talk about the objectives of the lesson and what is the goal for the students’ t-shirt design.
Objectives for students:
I will: organize and create artistic ideas for a t-shirt design.
So that I can: develop my skills with new material.
I know I’ve got it when: I can demonstrate my use of value and principles of design with the new material.
Explain my understanding of how to safely use a new material.
The teacher explains the safety and rules of using bleach and other materials. Students will listen and ask any questions they may have about safety, the materials, or what they have to do for this project.
Teacher Demonstration: 10 minutes
Teacher will do a quick demonstration to show students how to walk through the process of plaining out a sketch and then how to properly use the materials. Then the teacher will demonstrate how to apply layers of bleach to achieve value in the design. Students will watch and ask any questions they have. Teacher will review the demonstration the next day when students have completed their design sketches and are ready to move on to using the materials and make their t-shirt designs.
Students Sketch and Stencils: 25 minutes
Students will work on their t-shirt design sketches. Teacher will walk around to check in with students and see how their ideas are coming along. Once the teacher has approved of the students’ sketch they will work on making their stencils. Students can finish making their stencils at home if they need more time.
Clean up: 5 minutes
Students start cleaning up their tables to help get materials ready for the next class.
Day 2
Teacher review Demonstration: 5 minutes
Teacher will do a quick demonstration to show students how to properly use the materials and how to apply layers of bleach to achieve value in the design. Students will watch and ask any questions they have.
Students work time: 35 minutes
Students will work in their small groups on making their shirts. They will share supplies and only 2 spray bottles at one table. Teacher will walk around to check in with groups and individual students to see if they need any help and to see their ideas for their t-shirt design.
Clean up and Exit Slip: Last 10 minutes
Students start cleaning up their tables to help get materials ready for the next class and fill out their short exit slip.
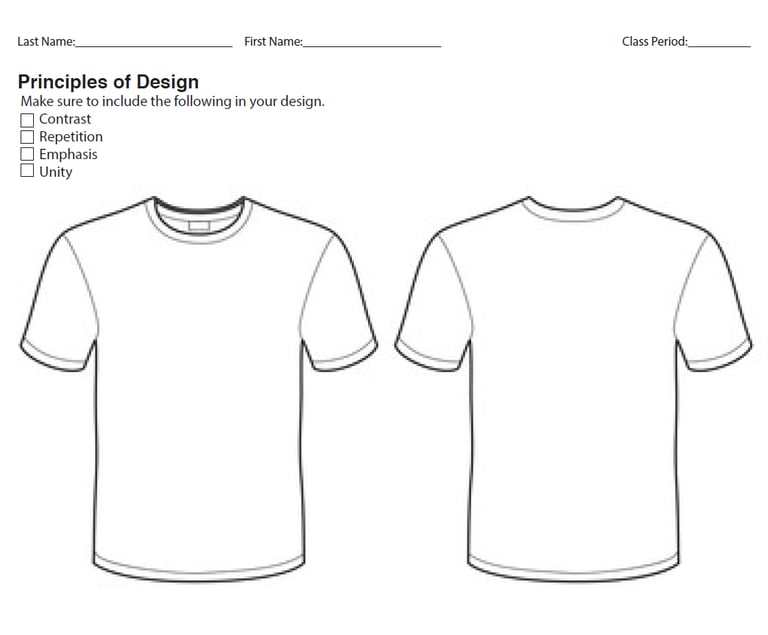
T-shirt design sketches and checklist:
Provide students with this worksheet to sketch out a cohesive idea and to help them keep track of the Principles of Design they need in their design. Students should focus on one theme per sketch that embodies the front and back of the shirt. Students are encouraged to make more than one sketch and the teacher will provide more worksheets for students as needed.
*Click on the image to download the PDF worksheet.
Differentiation (Accommodations & Modifications):
Differentiation by Interest: Students will be provided with artistic choices on what they want the content of their design to be about and look like.
Differentiation by Instruction: Teacher will provide instruction in different formats such as whole class, one-on-one, illustrated, video, and written instruction.
Bleach T-shirt Design
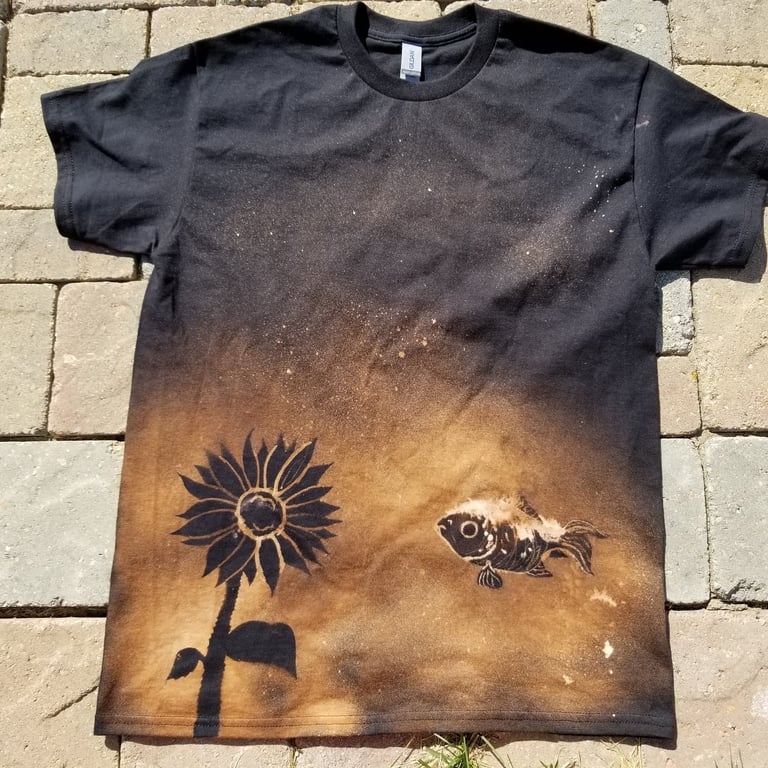

I taught this project during a week long summer camp to kids ages 7 to 14 years old. This was a two day project with 11 kids attending the camp throughout the week. On the first day of this project students had time to sketch out their design ideas and make their stencils using cardstock. The next day I demonstrated how to work with the materials safely and how students could use the different tools to get different effects. Students finished their stencils and started working and experimening with the different tools.
Description of Project: Students will organize and create designs on a t-shirt using stencils, paintbrushes, and bleach. The focus of this lesson is to allow students to experiment with different tools, creating lines, and to create areas of light and dark values in their design. They will focus on developing their use of value and line. Students will learn how to apply the right amount of layers to get the desired amount of value from the bleach onto the t-shirt. Students will be able to explain and understand the safety guidelines for handling the new medium. The students enjoyed experimenting with the stencils, paintbrushes, and using the bleach.
Reflection: If I were to teach this lesson again with this age range, I would have better cups that are spill resistant since younger students are more likely to accidentally spill things, or maybe even using a water brush tool instead. A water brush tool would be able to hold the bleach/water solution inside the paintbrush already so students could just lightly squeeze their special brush to draw with the solution.
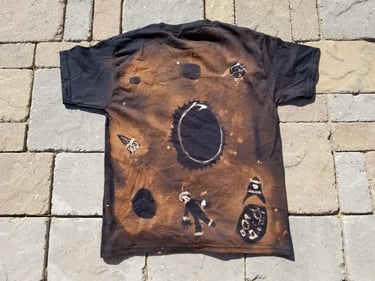
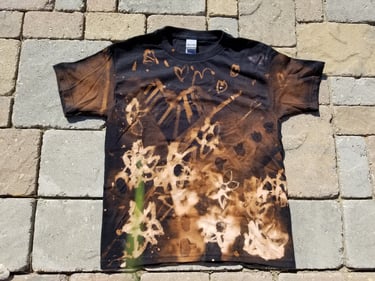
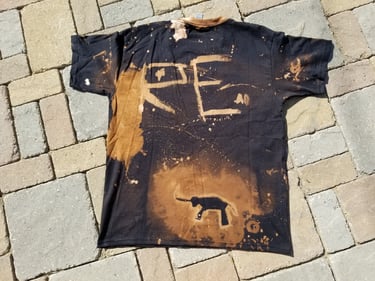
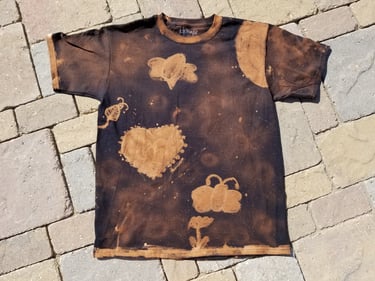
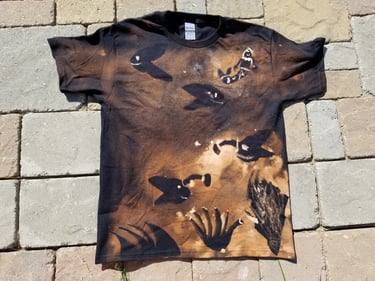
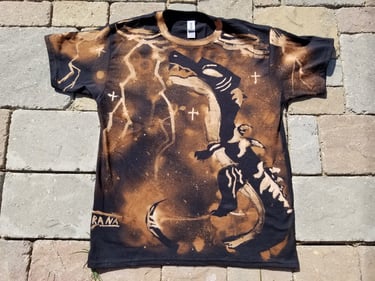
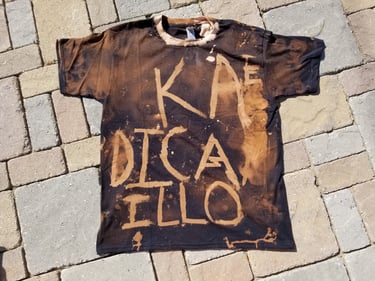
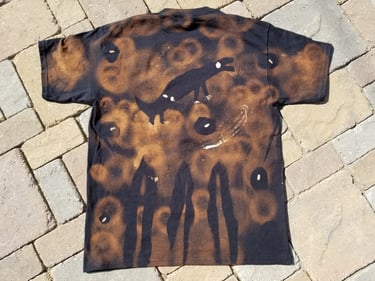
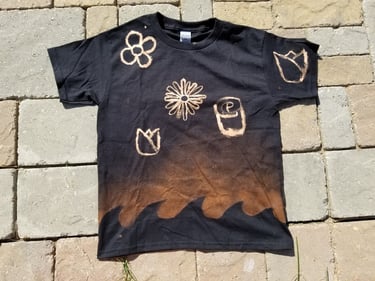

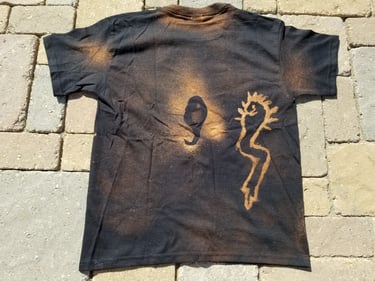
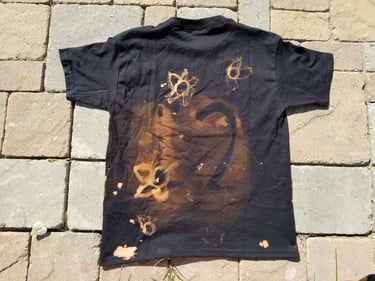
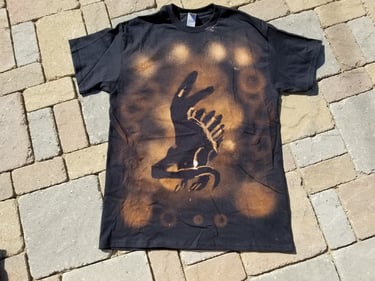
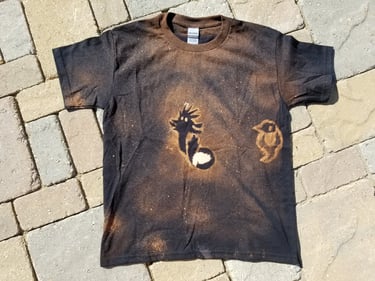


Student Work
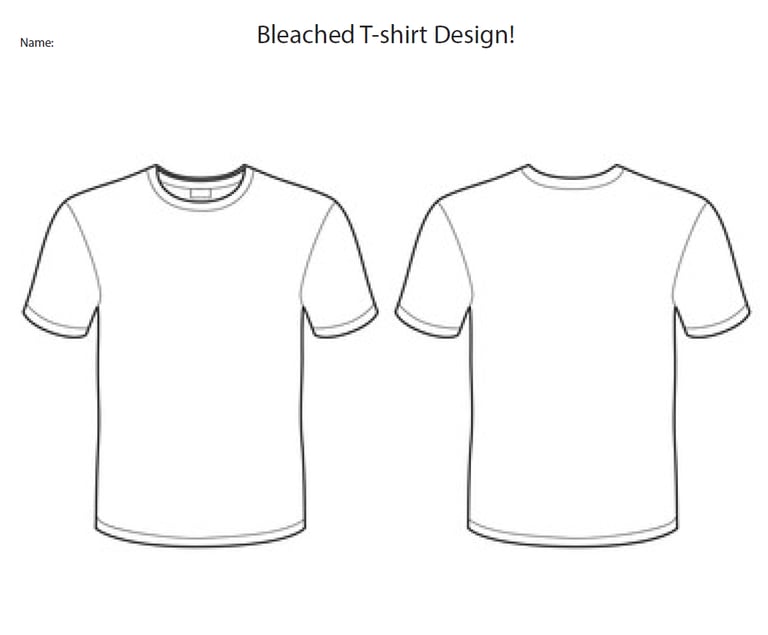
T-shirt design sketches
Provide students with this worksheet to sketch out a cohesive idea and help them think through ideas fully. Students should focus on one theme per sketch that embodies the front and back of the shirt. Students are encouraged to make more than one sketch and the teacher will provide more worksheets for students as needed.
*Click on the image to download the PDF worksheet.

